How to: Fit ARB bullbar D40

Nissan Navara Forum

Help Support Nissan Navara Forum:

This site may earn a commission from merchant affiliate links, including eBay, Amazon, and others.

gunning1987

Member
Joined
Dec 1, 2011
Messages
937
Reaction score
2
Location
Brisbane
Here's a quick run through on how to cut and mount the ARB bullbars to the D40's. This is THAI maybe different to SPAIN so read the instructions what come in the packaging.

Shopping basket:
1x 15mm masking tape
1x 30mm masking tape
1x A4 sheets of fine sand paper (round 120 will do)
2x mate to help lift the bullbar on.
Jigsaw with plastic cutting blade
Drill with 3/8" (10mm) drill bit
Basic hand tools kit

Torque Specs:
3/8= 35 FT/LB +/-5
1/2= 60 FT/LB +/-10
9/16= 100FT/LB +/-20


1: Remove number plate, bottom bumper skirting and screws from wheel well guards to front bumper. Run the 15mm tape along the lower edge of the bottom recess on the bumper bar, then the 30mm tape 3mm about. I used a 3mm wide screw driver as my guide.
imag0684i.jpg


2: Using the jig saw cut in between the 2 tape guides, allowing the jigsaw to cut the plastic rather then melting. This doesn't have to exact as the bullbar covers the cut once fitted, but stay between the lines
imag0686g.jpg

imag0687j.jpg

imag0688b.jpg
 
imag0689i.jpg


3:Using the supplied template mark out the 2 sides. I taped it up with masking tape then with a pen marked around it. Flip the template over and repeat on the other side.
Starting from the guard side cut towards the the curve, then start the second cut from the front. Allow the jigsaw to cut rather then melt the plastic it will make it easier to clean later on.
imag0693j.jpg

imag0694b.jpg


4:Clean all the plastic from the inside rubbing off all the plastic burrs for a clean finish (DON NOT RUB PAINT SURFACE). Fit both strips of rubber channelling on either wheel arches.
 
5: Remove the reo bar and mount the bullbar brackets. You'll need to read the instructions here as fitting the nutted plates as it does tests your patients.
Once the nutted plates are in fit the 4x right angle plates and bullbar support brackets. Tighten all the nuts and bolts.
imag0695f.jpg

imag0699e.jpg

imag0698t.jpg


7: getting your mates to lift the bullbar onto the brackets, fit the 5x 9/16" bolts nipped tight so that the bullbar can be moved with a bit of muscle. Measure out the gap on either side of the wheel archers trying to get the contour to follow while keeping a 15-20mm gap horizontally.
tighten retaining bolts.
imag0700s.jpg
 
Last edited:
imag0704f.jpg


8: Once all tighten run a drill from the bullbar through to the mounting plate. This prevents the bar from moving if hit by a roo or other obstacles. Using the jig saw trim the wheel arch guard in line with the bottom of the bullbar and tuck back in behind the bullbar and re-install the screws that are available. The remaining notch in the outer wheel well aches need to be trimmed accordingly.

9: Complete the Wiring stage here, each indicator and park light on the bullbar into the headlight indicator/park light loom.

imag0705l.jpg


That's it, quite brief but its very simple to do if you follow the instructions. Any questions please ask.
 
Last edited:
Great write-up. Are you also considering covering the gap under the bar to the sides with something?
I know that i am... maybe thin conveyor belt rubber sheet fixed in place with 4 wide washer equipped bolts.
 
Fantastic guide. Thanks

Thanks

Great write-up. Are you also considering covering the gap under the bar to the sides with something?
I know that i am... maybe thin conveyor belt rubber sheet fixed in place with 4 wide washer equipped bolts.

Ill be getting some under protection soon which will cover the middle section, for either side ill leave open. I'm thinking that if I fit belt rubber that it'll only pull through the wheel well guards when driving through mud/water/high ways.
 
'QUOTE 9: Complete the Wiring stage here, each indicator and park light on the bullbar into the headlight indicator/park light loom'

Gday gunning,

I just recently fitted my ARB deluxe bar on my Tai D40 and noticed that the plugs supplied on the bull bar indicators don't fit the plugs on my car, did you have to buy new plugs? id assume the ones supplied on the bar would fit??
The nav's plugs are round, the bars plugs are square.

Thanks
 
yer you'll need to cut into the wiring loom of the nissan, ARB supply standard narva connectors.

Use a test light to find indicator on each side then park light can be connected in series if required.
 
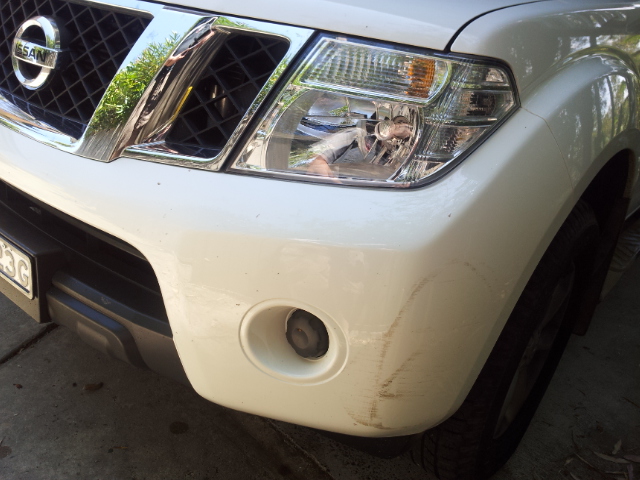
This write up is very interesting but my series 6 D40 doesn't have the recess in the bumper which Gunner1987 uses as the guide for cutting. Anybody any idea how to set out this line for cutting without the recess?
 
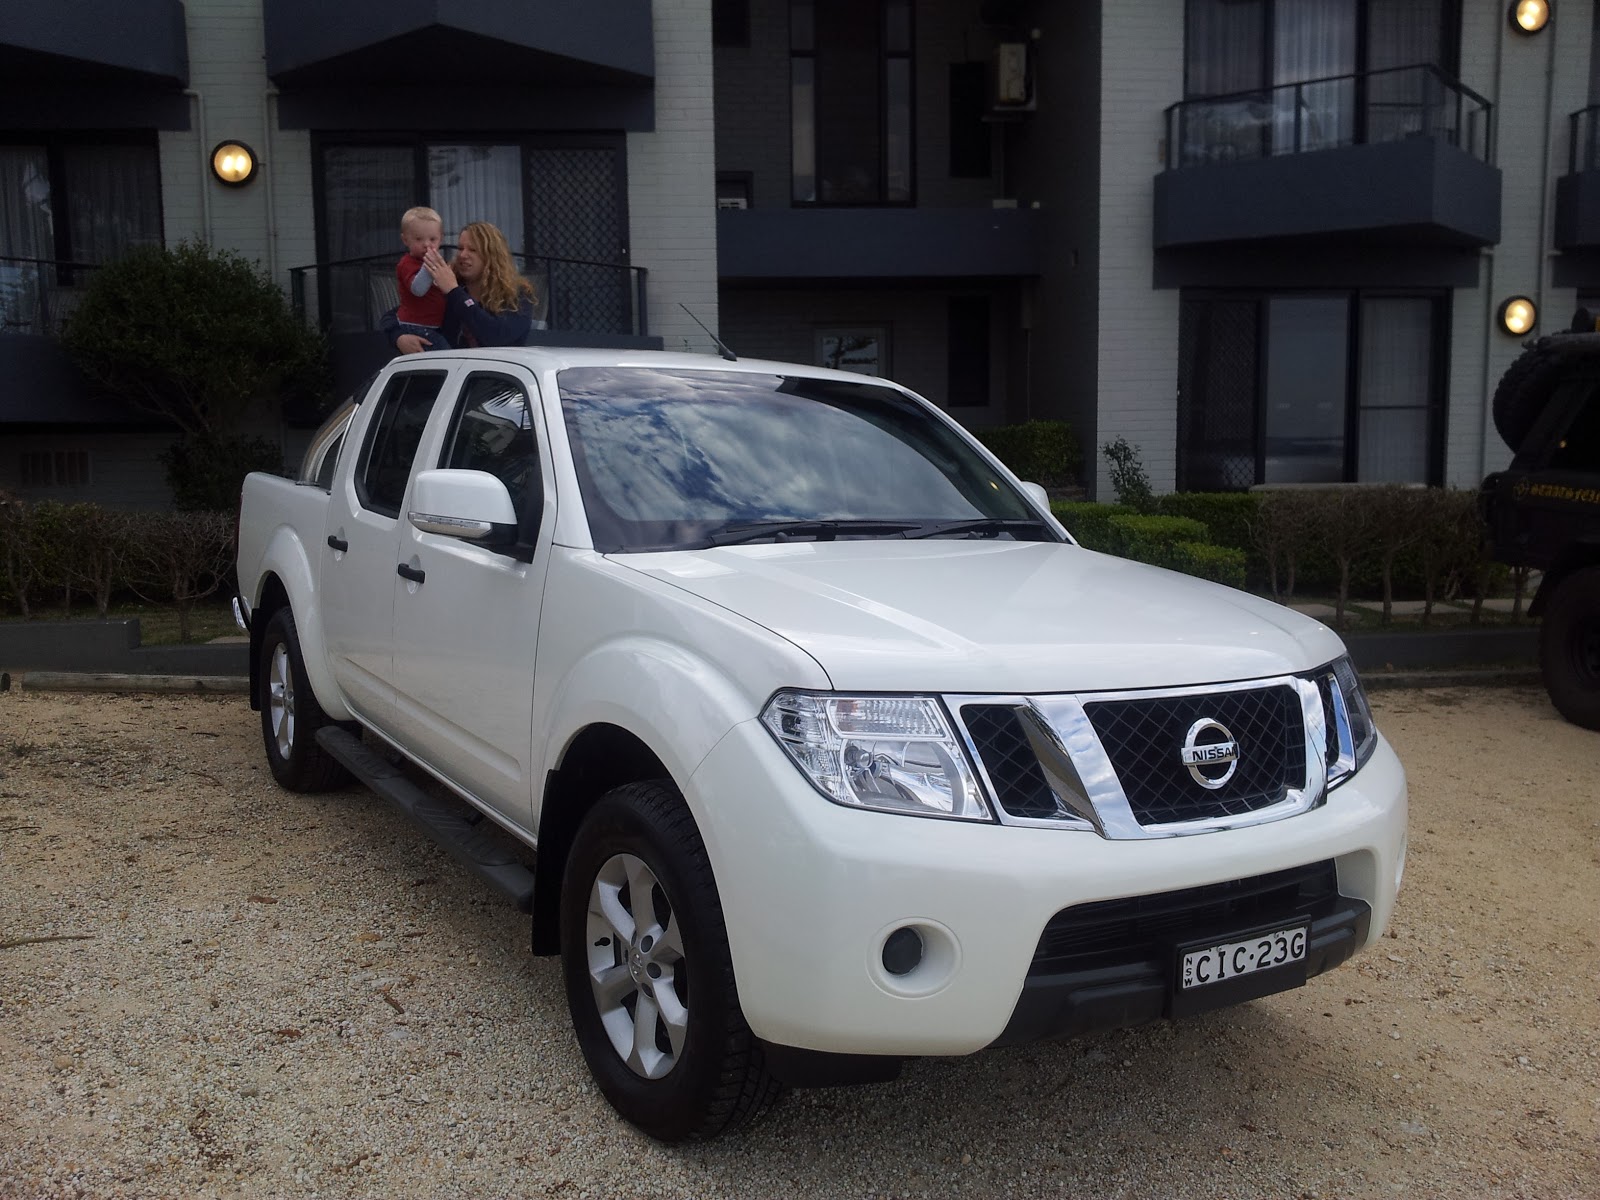
Here's what she looks like:

20121013_171033.jpg


As you can see, no groove but she is an ST not a 550:
20121019_121605.jpg
 
Back
Top