


Hey all,
After a year or so of having Narva Ultima 225s I have encountered a design problem with the old style lights (I guess that's why there is a new updated version") I put up with the lights never staying where I wanted them due to the crappy old mounting system and then the other day I found a massive gap in between the lens and backing;
I put up with the lights never staying where I wanted them due to the crappy old mounting system and then the other day I found a massive gap in between the lens and backing;

So I emailed Narva and to my surprise they pulled through and sent me new updated backings! They must be commended on true customer service and I will be recommending them to everyone and I will buy through them again.
So this is 15min easy DIY project to fit the new housing.
Tools:
Small Phillips head Screwdriver
Small Flat head Scredriver
Socket Set
Step 1:
Unplug the waterproof connector.
Next you will need a 17mm Socket to undo the first lock nut, then using a 15mm socket for the second nut which also has a spring washer.
Remove the Lights.
Step 2:
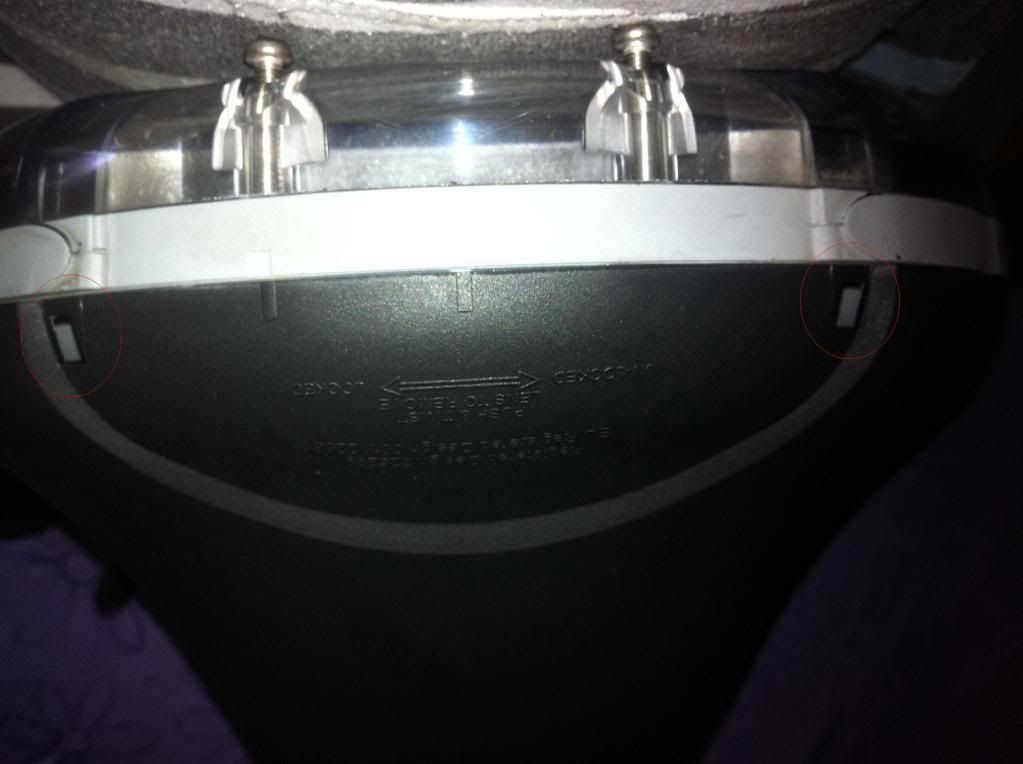
Take off the clear plastic protective covers. Now using the small flat screwdriver pry gently both ends of the black plastic cover on top of the lights. They have a tab at each end which push into the housing.
Step 3:
Using the small phillips head undo the two screws completely.
Now to open the casing you need to rotate the backing anti clockwise and it will then come apart. On mine there was an arrow to show which direction to rotate.
Step 4:
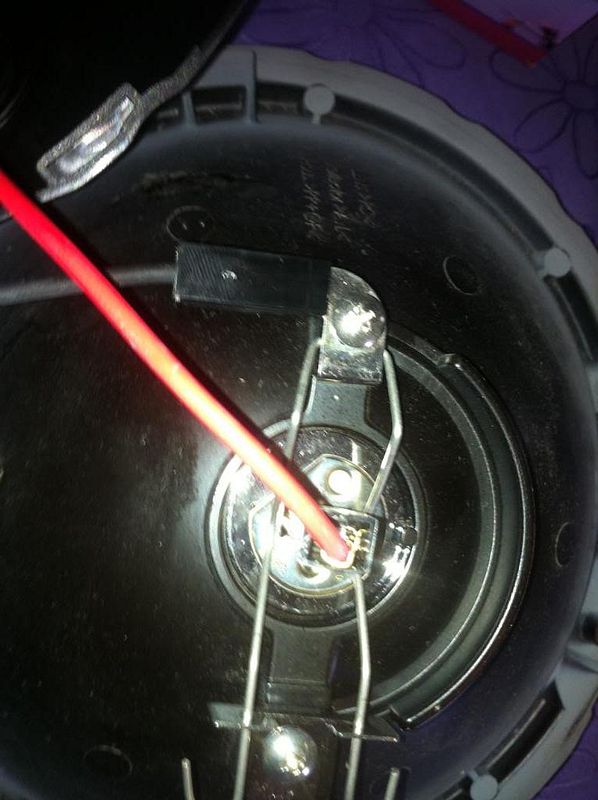
Unplug the red and black wire. The backing is now free and time to put the new one on. Plug the new red wire to the middle of the globe and the black to the side as can be seen in the pic above. The new housing has moulded tabs instead of the screw in ones on the old unit. Now rotate the housing until it locks in place.
Step 5:
Reinsert the two screws. Next push the black cover back on and the light is now re-assembled. Replace the clear cover and put back on the bullbar connect the plugs again and now you are finished.
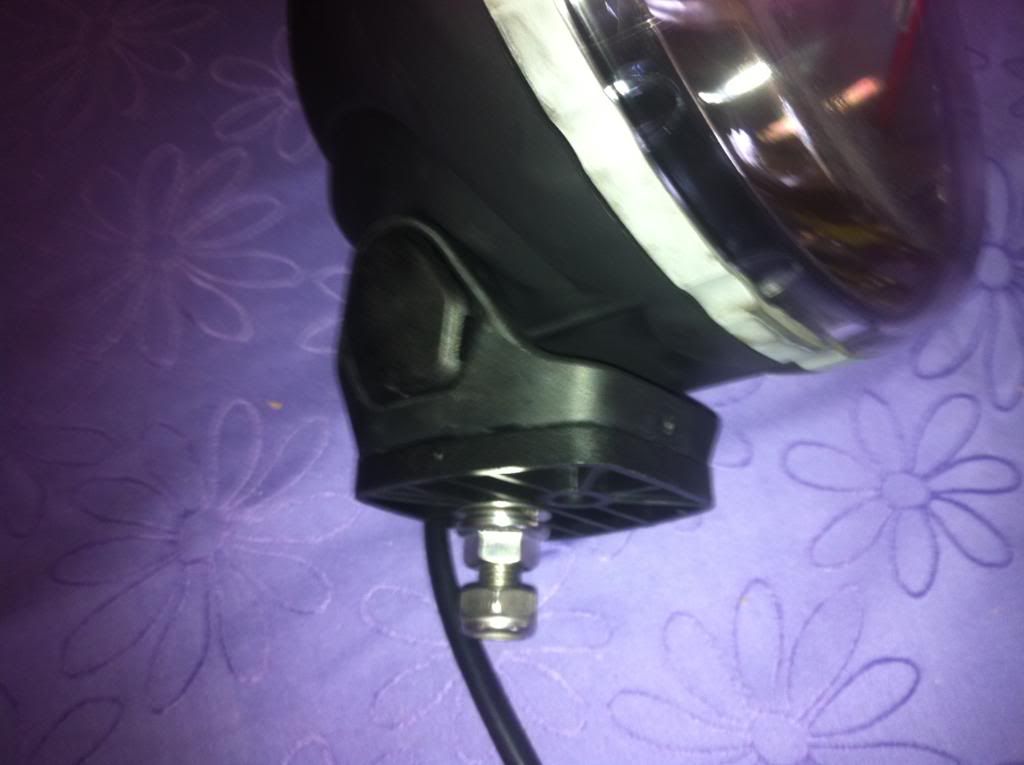
Here is a pic of the new mounts:
Hope this helps someone in the future.
After a year or so of having Narva Ultima 225s I have encountered a design problem with the old style lights (I guess that's why there is a new updated version
I put up with the lights never staying where I wanted them due to the crappy old mounting system and then the other day I found a massive gap in between the lens and backing;
So I emailed Narva and to my surprise they pulled through and sent me new updated backings! They must be commended on true customer service and I will be recommending them to everyone and I will buy through them again.
So this is 15min easy DIY project to fit the new housing.
Tools:
Small Phillips head Screwdriver
Small Flat head Scredriver
Socket Set
Step 1:
Unplug the waterproof connector.
Next you will need a 17mm Socket to undo the first lock nut, then using a 15mm socket for the second nut which also has a spring washer.
Remove the Lights.
Step 2:
Take off the clear plastic protective covers. Now using the small flat screwdriver pry gently both ends of the black plastic cover on top of the lights. They have a tab at each end which push into the housing.
Step 3:
Using the small phillips head undo the two screws completely.
Now to open the casing you need to rotate the backing anti clockwise and it will then come apart. On mine there was an arrow to show which direction to rotate.
Step 4:
Unplug the red and black wire. The backing is now free and time to put the new one on. Plug the new red wire to the middle of the globe and the black to the side as can be seen in the pic above. The new housing has moulded tabs instead of the screw in ones on the old unit. Now rotate the housing until it locks in place.
Step 5:
Reinsert the two screws. Next push the black cover back on and the light is now re-assembled. Replace the clear cover and put back on the bullbar connect the plugs again and now you are finished.
Here is a pic of the new mounts:
Hope this helps someone in the future.