2 inch lift on my D40 Spanish Built

Nissan Navara Forum

Help Support Nissan Navara Forum:

This site may earn a commission from merchant affiliate links, including eBay, Amazon, and others.

YBOD

Member
Joined
Oct 13, 2012
Messages
389
Reaction score
2
I have spent a very long, mucky and frustrating but eventually satisfying Saturday fitting a 2 inch lift to my D40. I got the lift kit from Zordo (as I think quite a few of us have) going for the following set up:

  • lovells shocks front and back
  • Dobinson HD coils
  • Bluemax leaves, bushes, u/bolts, shackles at the back

When I was looking on to lifts before i started I found plenty of very good and helpful advise on what to fit but not much on how to fit it. In the end I simpy followed the instructions in the Nissan Workshop Manual but I thought I'd share a few progress photos here in case they inspire others to give it a go:

20130712_171314.jpg
 
So firstly I started with the back leaves, on the basis that they are older technology so bound to be simpler to work on; oh how foolish.......both front and back were both as hard work as each other.

So the back, first job was the jack the truck up and support both the chaise and the rear axle because of course as soon as you release the suspension the axle and chaise will separate and gravity is going to take hold. We used axle stands for the chaise and wooden blocks for the axle. As you will see the axle stands were also placed on blocks, this is because once the shocks were disconnected the axle sagged so low that the leaves were still under some compression so we lifted it all that little bit more to allow it to hang down fully:

20130713_103749.jpg


Next then was to remove the bolt at the bottom of the shock connecting it to the axle (sorry, didn't photograph this) and then simply let it all hang down. With all the compression released out of the leaf I proceeded to remove the U-Bolts and the plate at the bottom of the axle (held on by the U bolts) and the pyramid shaped top "plate" thingie:

20130713_105028.jpg


Interestingly something I didn't realise from the Nissan Workshop Manual is that there is a bolt through the leaf springs and this corresponds to a hole in the top of the axle and another in the bottom of the pyramid plate on the top. This ensures that the axle then sits at the correct location on the leaf and doesn't leave the axle slightly on the pi$$. Simple solution and probably perfectly obvious once you know about it but I didn't and was concerned as to know how I was going to be sure the geometry remained correct:

20130713_105049.jpg


With the leaf released from the axle the next step was to remove the shackle from the rear end of the leaf. Simple job, undo the bolts, bash it with a hammer to release all the crap and crude and away you go:

20130713_110556.jpg
 
With the shackle removed at the rear of the vehicle I thin undid the bolt holding the front end of the leaf and then lifted the whole leaf spring out noting that the "big hole" end of the leaf went towards the front of the vehicle (or at least I wish I had noticed that because it would have saved me having the maul the damn new leaf in to place only to have to take it out again because I had it the wrong way around!!).

I then lay the new and old spring side by side and could straight away see two things: the lift the new spring was going to give and the extra leaves the new springs have:

20130713_111404.jpg


20130713_111413.jpg


With the springs off I was able to see the next bit of the job that the Nissan Manual doesn't mention but Zordo warned me of, and the bit I was looking forward to least: Angle grinding my nipples!!:confused2:
 
Apparently this is something you only need to do if you have a Spanish built truck, but inside the front leave mounts on the chaise there are four little "nipples" that presumably helped the inept Spanish assembly workers position the leaf whereas the Thai assemblers just get it right without. As the replacement leaves are ever-so-slightly wider than the stock these nipples have to go and the only way is with a grinder:

Here are the nipples before removal:
20130713_114348.jpg


During removal:
20130713_114420.jpg


And after removal with a good layer of primer and two of black paint:
20130713_121610.jpg


Felt a bit extreme taking an angle grinder to a six month old truck but you gotta do what you gotta do, and at least I am doing it myself so can make sure she got a good coat of paint to prevent rust later. And this was the point I took a break for lunch to let it all dry.
 
With the paint dry and lunch demolished it as time to crack on with installing the new leaf. I decided to bolt the front of the leaf to the chaise first because this goes into a cup that encloses it in three sides therefore has least "wiggle room". This was bolted up but because the curl of the leaf meant it sat higher than the chaise at the back the bolt couldn't be pushed right the way through and the nut added because it was off square. I therefore but the bolt through as far as I could and moved to the rear.

Now with the leaf curled up higher than the chaise I obviously couldn't just bolt the shackle on. Now if I was in a properly workshop with lifts and hoists etc I'm sure I could simply have lowered the axle so that the leaf rotated around and was clear of the chaise but this in itself presented a problem; taking out my wooden blocks from under the diff one by one the brake lines limited the distance the axle could be lowered before the leaf was under the chaise. EEEeek how was I going to solve this because I didn't have any longer brake lines and certainly didnt want to risk stretching or snapping them. Well even if I say so myself, I reckon I came up with a pretty nifty solution for this and that was to use the jack to slowly wind the leaf down until it was in the right location to receive the shackle:

20130713_134145.jpg


And the safety observant amongst you will notice that I have kept the bottom of the jack flat to the leaf and located the top on the top bump stop nut to prevent it slipping and removing a chunk of my flesh.

I would point out at this point that the side of the car with the exhaust on it does present a bit of a problem because the exhaust is perfectly lined up to clash with the shackle as you are trying to insert it into the end of the leaf (see below) so put the shackle in the leaf before jacking it into position:

20130713_110621.jpg


You now have the leaf in position, bolt up the shackle and you can then return to the front bolt and persuade that all the way through the leaf and bolt that end in and you are all done.
 
I'm afraid at this point it was getting late in the day and my energy levels, my mate assisting's patience and the available light was fading so we simply cracked on with the front suspension without taking too many pictures :sorry3:. However I would say that the front is as easy.....sorry no.....straight forward as the Nissan Manual suggests and we had these done without too many dramas.

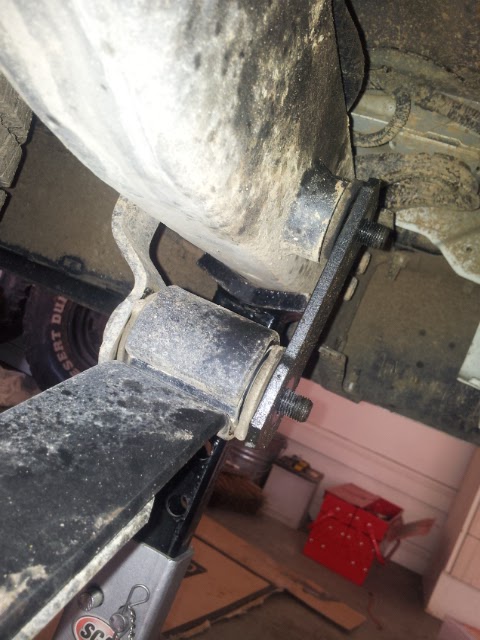
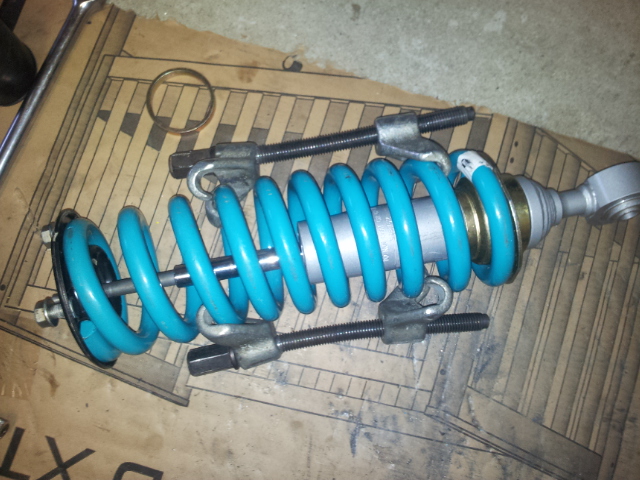
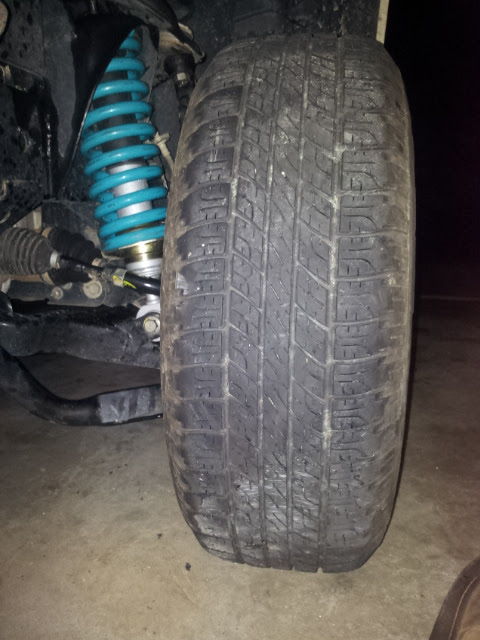
The only useful picture I did take really was that of the new HD spring compressed with the shock assembly bolted together around it:

20130713_165501.jpg


Now I know there are those on the forum that don't like these basic compressors, and I'd be inclined to agree the amount of energy involved in winding these things up is huge and if they did fail I could imagine it would make a mess. However you work with the tools you have and we cracked on and all went without injury.

We did have one small drama/frustration, and the experienced amongst you will chuckle at this I'm sure. In the picture you will see top center of the frame a metal spacer. Well, this is supposed to be at right hand end of the shock as you look at the picture......we didn't realise it wasn't in there until we had assembled the shock (after about 45minutes of winding and bolting and generally grunting and swearing) and my assistant moved his foot which was on top of the spacer. Now I could have said screw it at this point but if a jobs worth doing its worth doing properly so the whole arrangement was taken back apart and reassembled with ALL the bits in this time.

And you can be damn sure we did the second one right first time and had all the bits in!!

And so the shock was popped back in and the wheel put back on (for that "popped" read half hour of wriggling and swearing) and the whole thing torqued up and finished.

20130713_194944.jpg


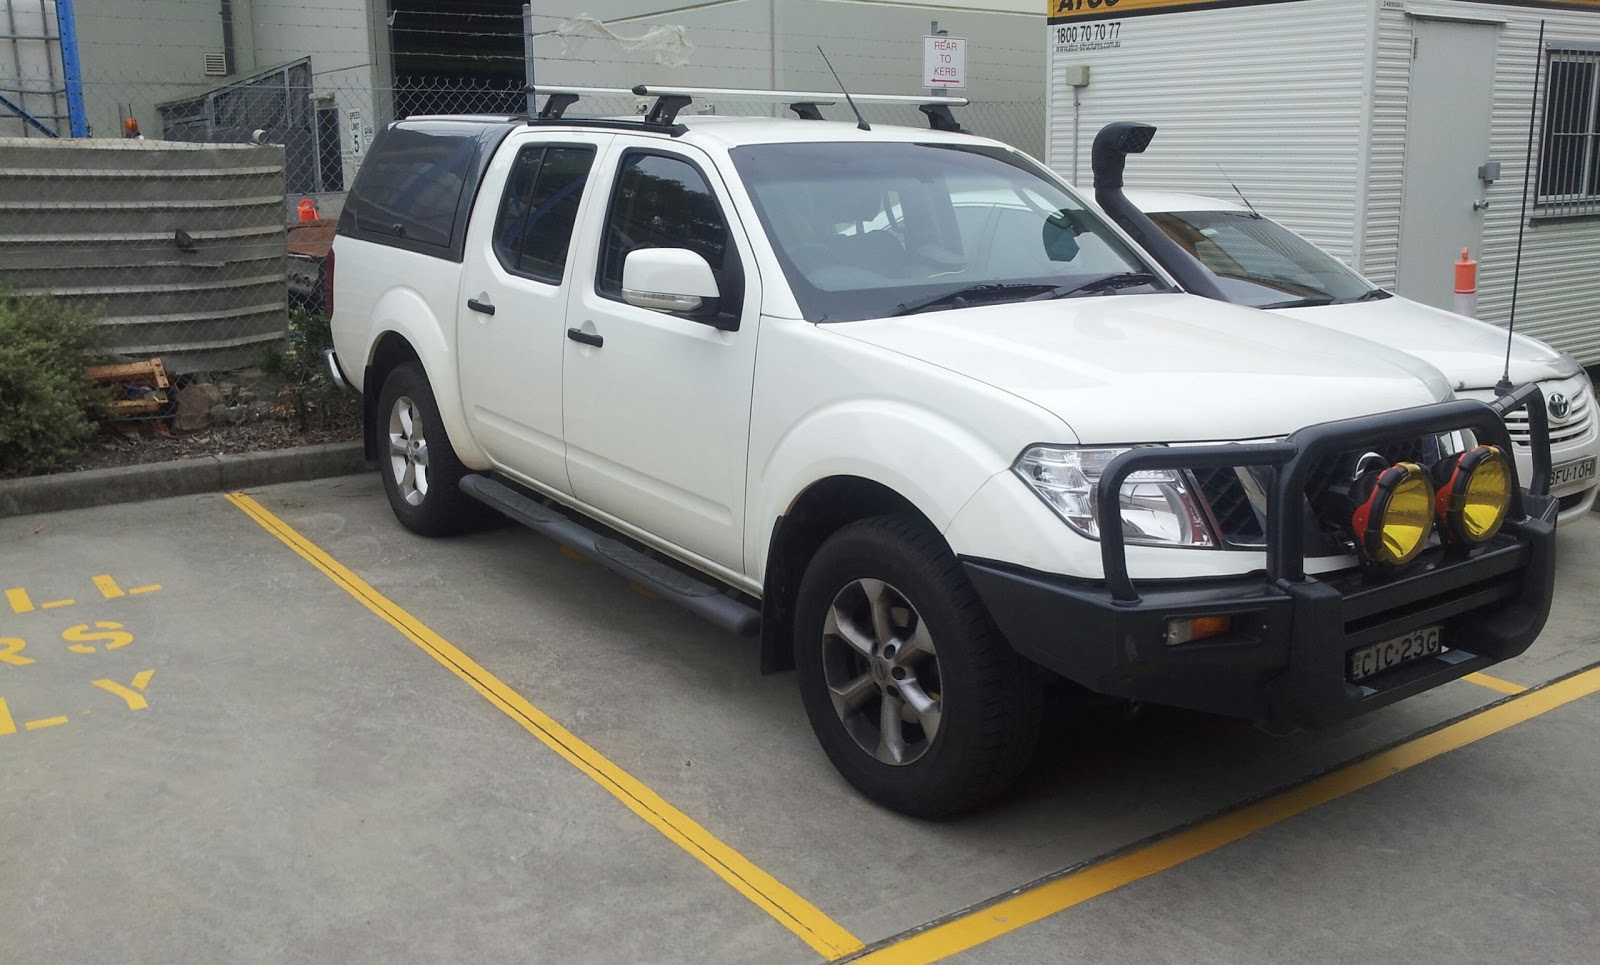
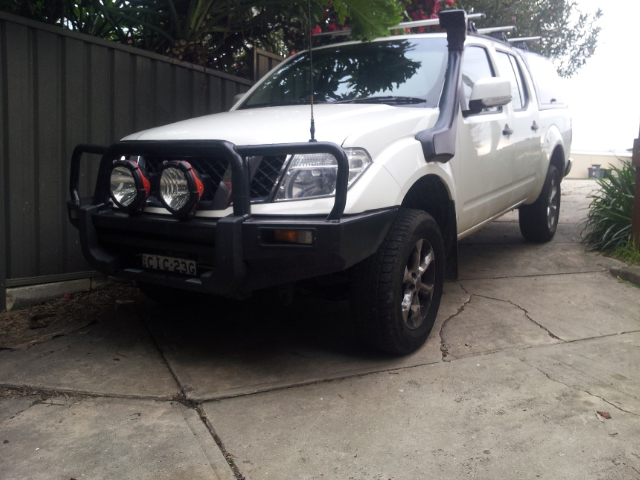
Net result is that the truck now sits noticeably higher and the ride is much more firm and stiff (the wife's words not mine) and I can say that I am very pleased with it so far. I'm going to run it around for a few hundred km and get a wheel alignment done and then she'll be ready for a new set of slightly larger tyres as soon as funds permit.

And for those out there that like the statistics (as I know many do) here are my number for before and after. These measurements are from bottom of wheel rim (not the floor) to top of wheel arch:

Front before: sorry forgot to measure After: 825mm
Rear before: 735mm After: 850mm

The before case is with a steel bull bar fitted which did cause the existing shocks to sag down significantly. I'm sure these will bed down a bit over the next few weeks so I'll measure again and let you know what I get.
 
Had a few comments from mates that I missed the most important photos; the before and after!! Now I will admit in never occurred to me to take a before but I have this on from a while ago:

20130606_123657.jpg


And here is the after:
20130715_155303.jpg


And doesn't she look better for standing proud and high rather than squat and lumbered
 
Great write up,well done.I fitted Blue max leafs as well,happy with the ride although i would have liked a bit more lift.
Running bilstein 5125's with them.
The only things i did different was i jacked the vehicle up with the trolley jack under the diff centre,put the chassis stands under,let the jack down a bit,undit the clips that hold the abs and brake lines,undo the u bolts(one side at a time and then you can just let the diff hang down from the spring a bit,fit the new spring and then jack the diff up to it.
Fit the new ubolts and do the other side,peice of cake.
 
yeah we did toy with unclipping the brake lines but I didnt want to risk damaging the lines at all so left them well alone.
 
Same lift

Good write up YBOD. I had the same suspension fitted in Perth from zordo. One difference the blue max leaf springs were medium/heavy as opposed to heavy duty like yours. Really happy with the result. I had the D40 for 12 months (19 500km) before fitting. I had a arb steel delux bull bar fitted at the same time. End result was a 53mm lift at the front both sides and a 69mm lift at the rear both sides.
 
well this is going to help heaps im going to attempt this in the next few weeks as soon as I can get some time over a weekend
 

Latest posts

Back
Top