


For about the last nine months not much has happened on my QD32 D21 – the reason is this project: a tidy 1989 D21 Navara King Cab 4x4, with a worn out Z24. This vehicle belongs to a friend of mine named Steve – the user ‘bobys’ on this forum. For Steve, this King Cab – Bobys as it is known – is something of a family heirloom, so when the Z24 got just a bit too wheezy, the thought of retiring the old girl didn’t fly – a better solution that meant that the sentimental value in Bobys could be maintained, was a new motor. Initially a rebuilt Z24 was the plan, but I was keen to push for something a bit different. Forum regulars will be familiar with scottybobcat’s V8 Navara – the VG33E that came out of Scotty’s Navara to make way for the V8 was at the time for sale. Steve and I nutted out a plan to fit this V6 to his D21.
D21s don’t come with 4x4 and a V6, the only source for this motor with the correct sump and transfer is the D22, and nowhere near as many V6s sold as those ubiquitous ZD30s. The concept behind this project is to do everything to a high standard, but for as close as we can get to bottom dollar. Less money equals more man-hours, but what’s the fun in just throwing money at a problem?
The first challenge was to tear out the Z24 and gearbox. This isn’t very exciting, just a lot of spanner twirling. Photos from this time in the project are on a hard-drive that had a head-crash, so I might be able to add them later if I get the drive rescued.
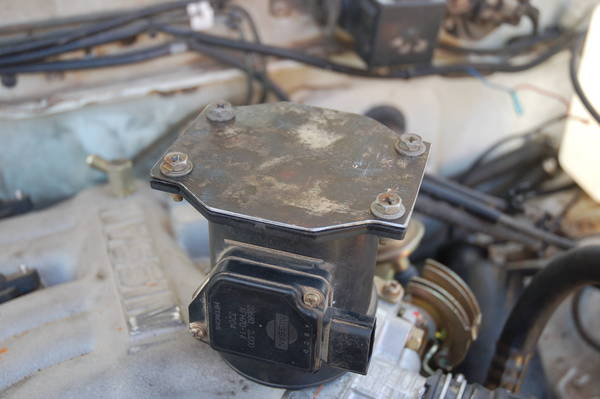
Motor mounts were sourced from wreckers, and the VG33E dropped into the engine bay. There is no ideal solution for a radiator cowling that fits the VG’s fan, so we’re going without it to see if it poses an issue.
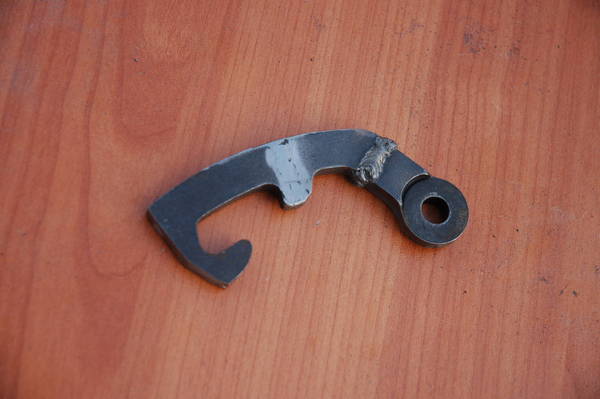
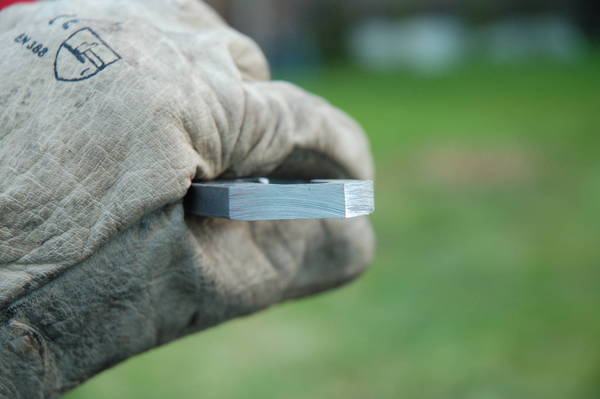
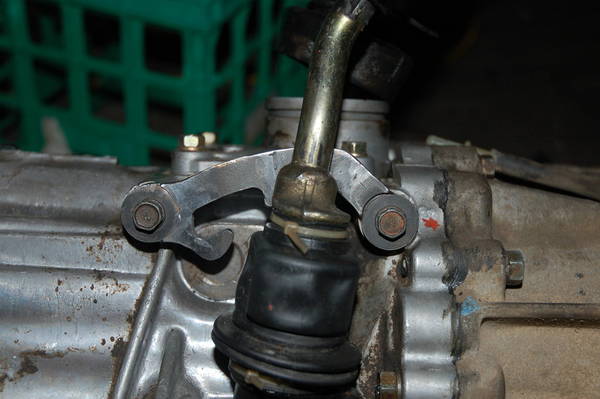
The next challenge was the transfer case – the one we needed lives under Scotty’s Navara, so we had to source a different one. Despite being mostly identical, the difference between the transfer for the V6 and the transfer for the four-pot, is the diameter and spline-count of the input shaft. The 4cyl counts something like 24 splines, whilst the V6 is 30 (don’t quote me on the numbers, but they are easily differentiated when compared). I shook the contacts tree and managed to pick one up for a gentle price from a friend of mine. It was out of an R50, and bolted right up. However, neither the gearbox nor transfer had come with a complete shift lever, or lever guide. The lever required that I modify parts from the new transfer and a spare shift lever I had to make a transfer shifter that worked. I drilled out the new transfer’s droplink rose-joint to a standard bolt size and made some grease boots.[FONT="]
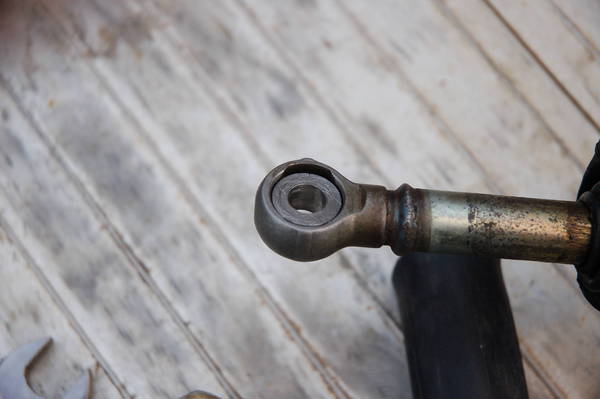
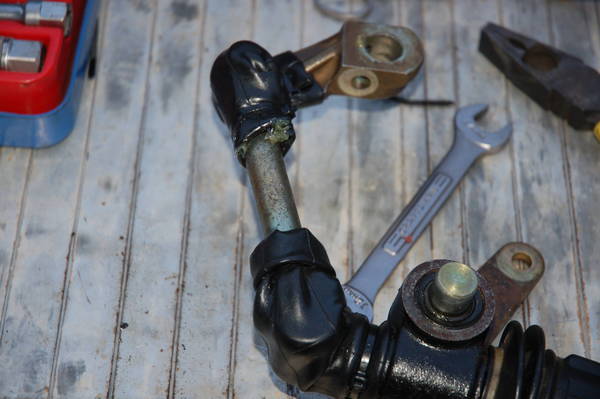
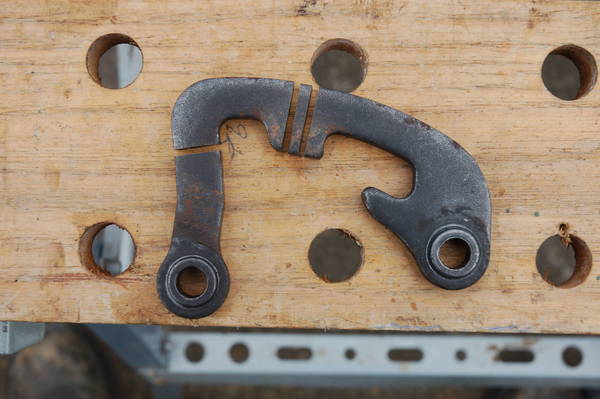
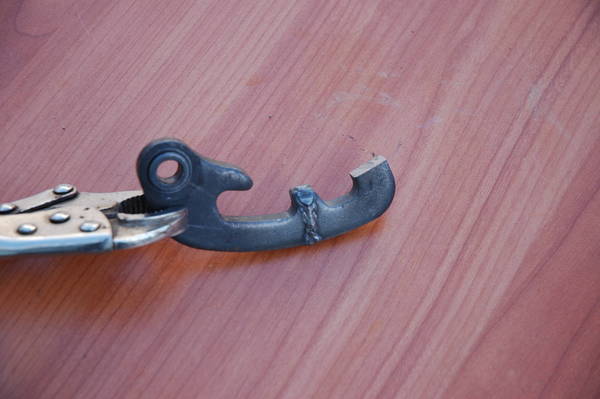
[/FONT] The linkage arc lengths are totally different between the original transfer linkage (which was well and truly corrosion-welded to the original transfer) and the one that happened to come attached to the new transfer. To get the guide which locks the stick into high or low range to function correctly, I had to make some adjustments to it...
D21s don’t come with 4x4 and a V6, the only source for this motor with the correct sump and transfer is the D22, and nowhere near as many V6s sold as those ubiquitous ZD30s. The concept behind this project is to do everything to a high standard, but for as close as we can get to bottom dollar. Less money equals more man-hours, but what’s the fun in just throwing money at a problem?
The first challenge was to tear out the Z24 and gearbox. This isn’t very exciting, just a lot of spanner twirling. Photos from this time in the project are on a hard-drive that had a head-crash, so I might be able to add them later if I get the drive rescued.
Motor mounts were sourced from wreckers, and the VG33E dropped into the engine bay. There is no ideal solution for a radiator cowling that fits the VG’s fan, so we’re going without it to see if it poses an issue.
The next challenge was the transfer case – the one we needed lives under Scotty’s Navara, so we had to source a different one. Despite being mostly identical, the difference between the transfer for the V6 and the transfer for the four-pot, is the diameter and spline-count of the input shaft. The 4cyl counts something like 24 splines, whilst the V6 is 30 (don’t quote me on the numbers, but they are easily differentiated when compared). I shook the contacts tree and managed to pick one up for a gentle price from a friend of mine. It was out of an R50, and bolted right up. However, neither the gearbox nor transfer had come with a complete shift lever, or lever guide. The lever required that I modify parts from the new transfer and a spare shift lever I had to make a transfer shifter that worked. I drilled out the new transfer’s droplink rose-joint to a standard bolt size and made some grease boots.[FONT="]
[/FONT] The linkage arc lengths are totally different between the original transfer linkage (which was well and truly corrosion-welded to the original transfer) and the one that happened to come attached to the new transfer. To get the guide which locks the stick into high or low range to function correctly, I had to make some adjustments to it...
Last edited:


")