Aussie Frontier
Member
I went ahead and bought a new rad from Natrad for $348 with 3 years warranty
So far all I have done is pulling parts off
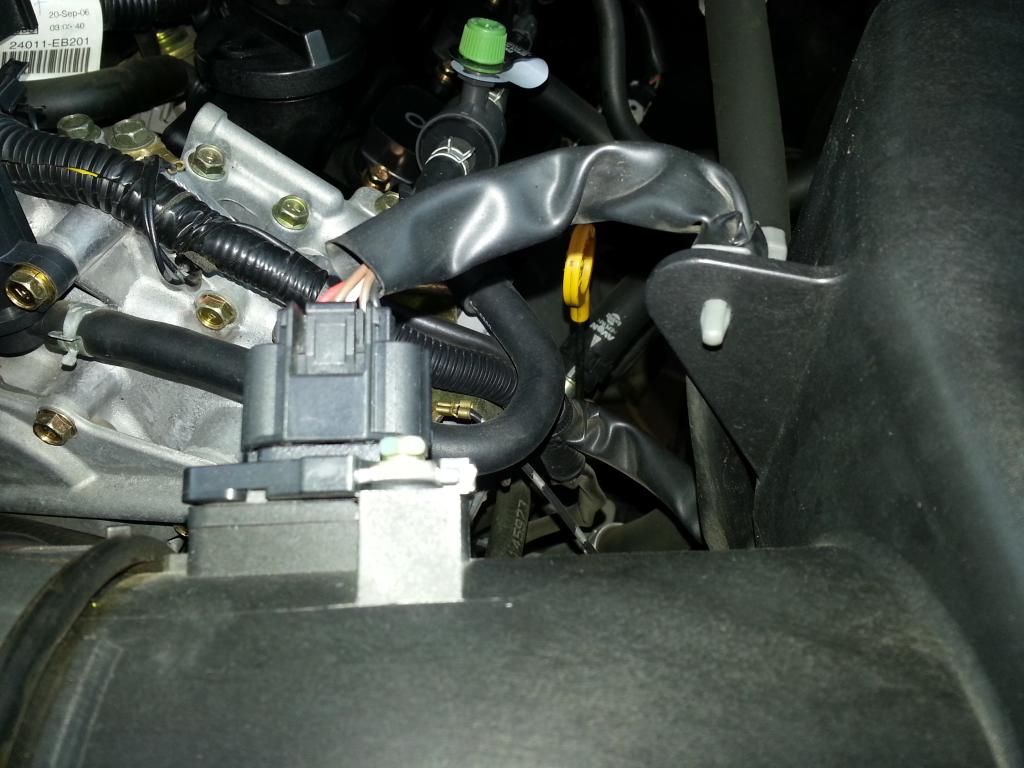
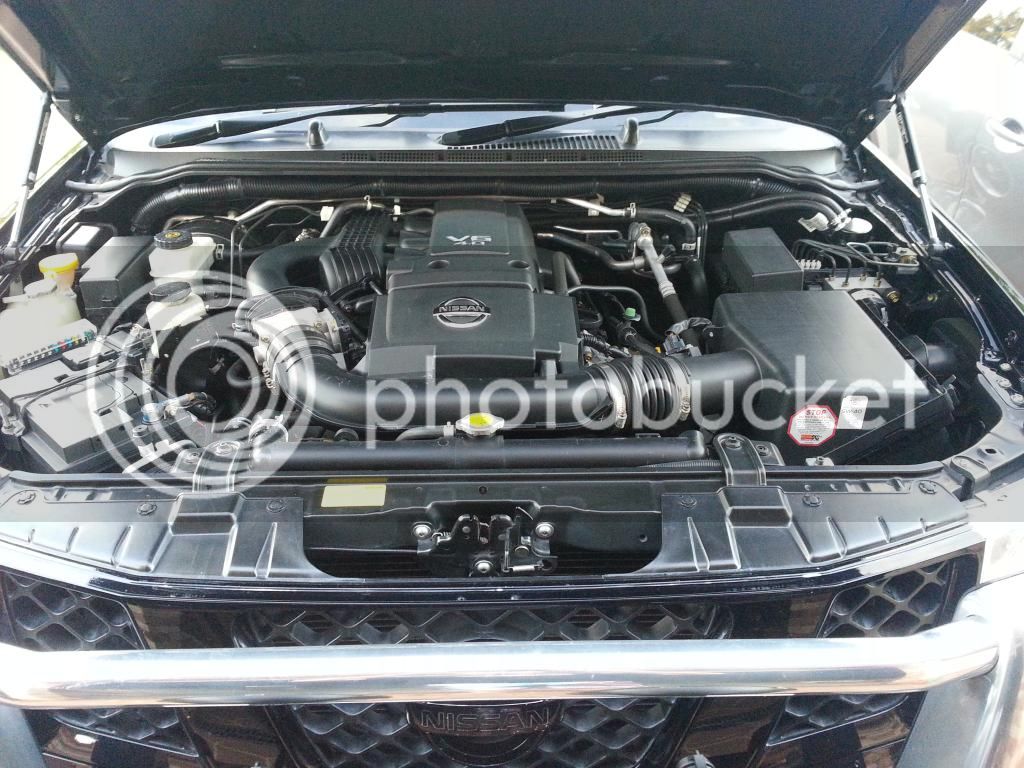
Remove Air Inlet tube and Engine cover
Remove Airbox ( just to get some wriggle room
Remove belly pan
Disconnect lower rad hose and drain system
remove lower section of fan shroud
Remove upper rad hose
Remove overflow hose
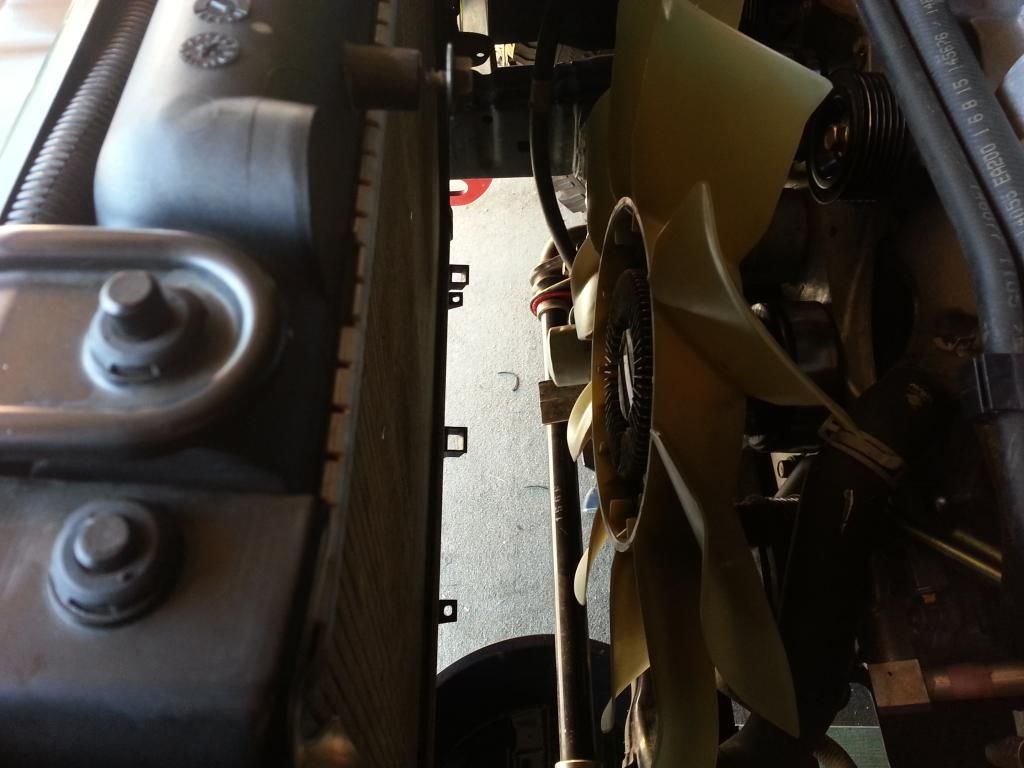
Remove fan belt
Remove Upper fan shroud
Remove fan and clutch
remove thermo fan
Thats what am up to so far
Have also had the hose run through as much as I can of everything including overflow bottle
I pulled out the T/Stat and checked that in boiling water and yup its working fine.
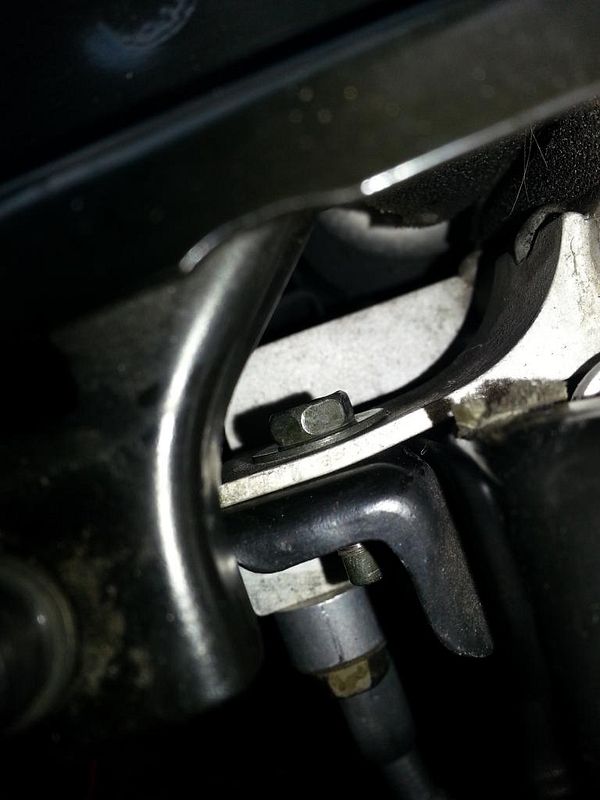
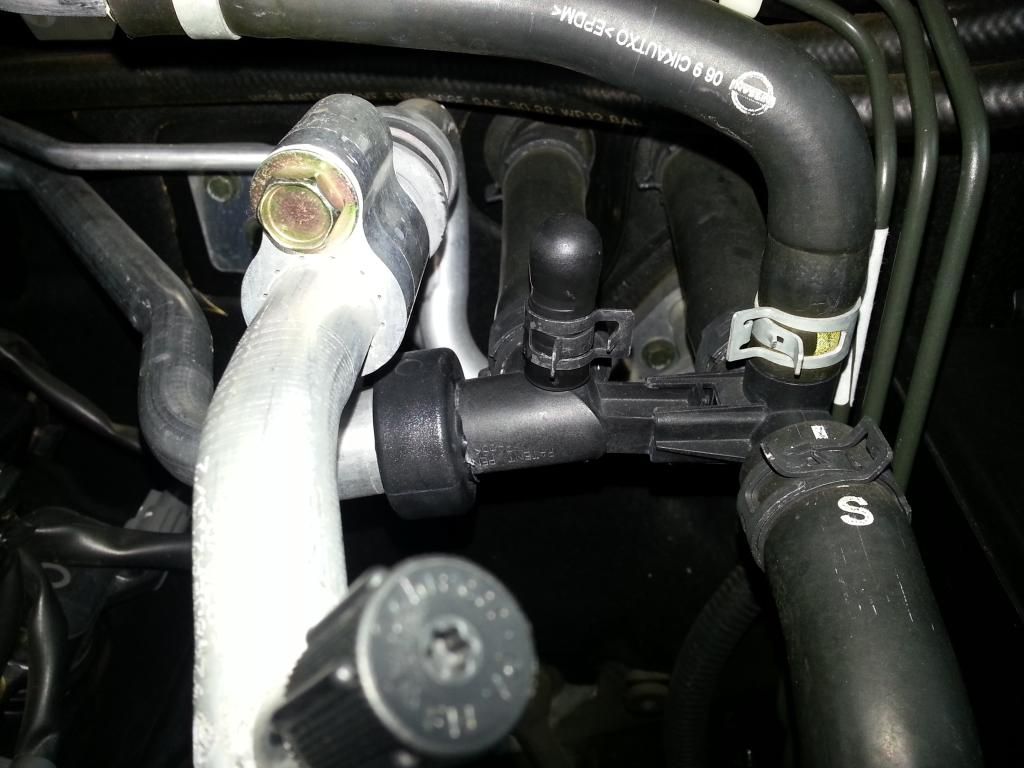
I will take pics as I go tomorrow so it will show what goes where and how its attached
bottom line
Prick of a job
So far all I have done is pulling parts off
Remove Air Inlet tube and Engine cover
Remove Airbox ( just to get some wriggle room
Remove belly pan
Disconnect lower rad hose and drain system
remove lower section of fan shroud
Remove upper rad hose
Remove overflow hose
Remove fan belt
Remove Upper fan shroud
Remove fan and clutch
remove thermo fan
Thats what am up to so far
Have also had the hose run through as much as I can of everything including overflow bottle
I pulled out the T/Stat and checked that in boiling water and yup its working fine.
I will take pics as I go tomorrow so it will show what goes where and how its attached
bottom line
Prick of a job