You are using an out of date browser. It may not display this or other websites correctly.
You should upgrade or use an alternative browser.
You should upgrade or use an alternative browser.
Rear 4 Link
- Thread starter dilmah
- Start date


Help Support Nissan Navara Forum:
This site may earn a commission from merchant affiliate
links, including eBay, Amazon, and others.


Diagonals are 44.5mm CDS tubing (the stuff they make roll cages out of) Its super strong and welds really nicely.
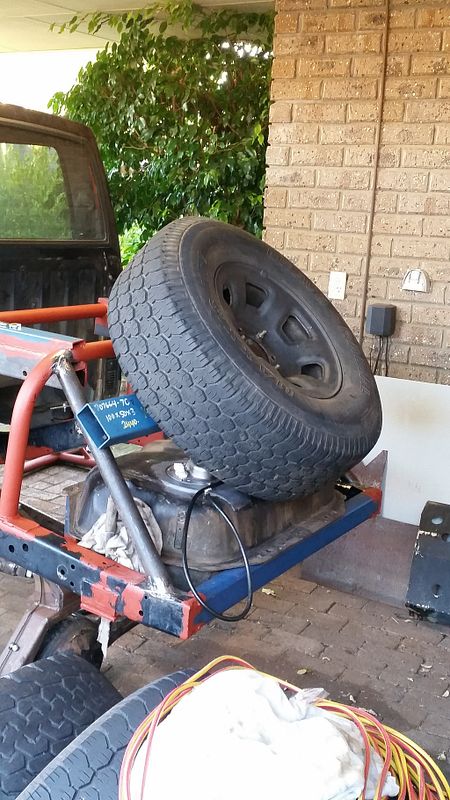

The spare only just clears the rear tank, less than 10mm. Id really like to have another 10mm of clearance but with a -22 offset rim and a 33 it should be fine. Otherwise I can space the tire out further with a wheel spacer.
The wheel carrier cross member is 100 x 50 x 3mm RHS. The bolting plate was made by Sam at Slinky customs and is held to the RHS by an offcut of 75 x 75 x 6mm SHS I found in the scrap bin at the steel shop. The RHS is bolted to the diagonals with 4 x 10mm grade 8.8 bolts. It needs to be removable to get the fuel tank out for whatever reason.
Sway bar is next on the list, should be done by next weekend.
Made some progress this weekend on lots of small jobs: Front brakes are all plumbed up. The sway bar mounting structure is almost ready to go in. I pulled the intake piping out and prepped the MAF sensor for welding.
Jobs for this week: finish off sway bar, fix leaking power steering fitting, finish boxing the rear diff truss. Rear diff can then go for sand blasting and powder coating.
Jobs for this week: finish off sway bar, fix leaking power steering fitting, finish boxing the rear diff truss. Rear diff can then go for sand blasting and powder coating.
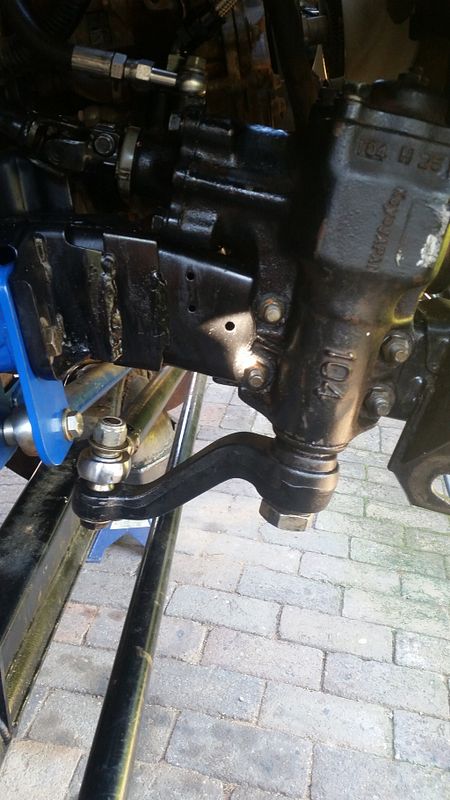
Been plodding along with thee build this week. Uni has been pretty quiet and I took a few extra days off work to spend on the truck. Finished the steering off, only to find the wheels are turning the wrong way. A standard GU box runs the pitman arm facing forwards, I've rotated mine 180 degrees to face backwards. This has reversed my steering  . Bit of a oversight on that one but hey thats what building a racetrack is all about. So now I'm looking at some sort of steering reverser as I still want to run the GU box
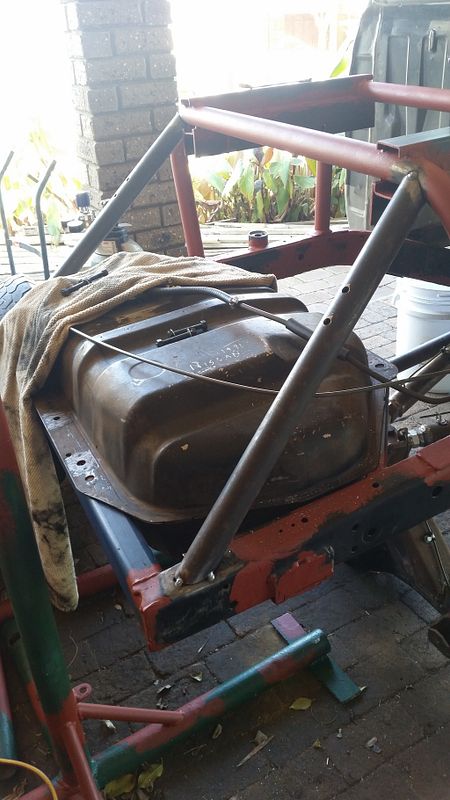
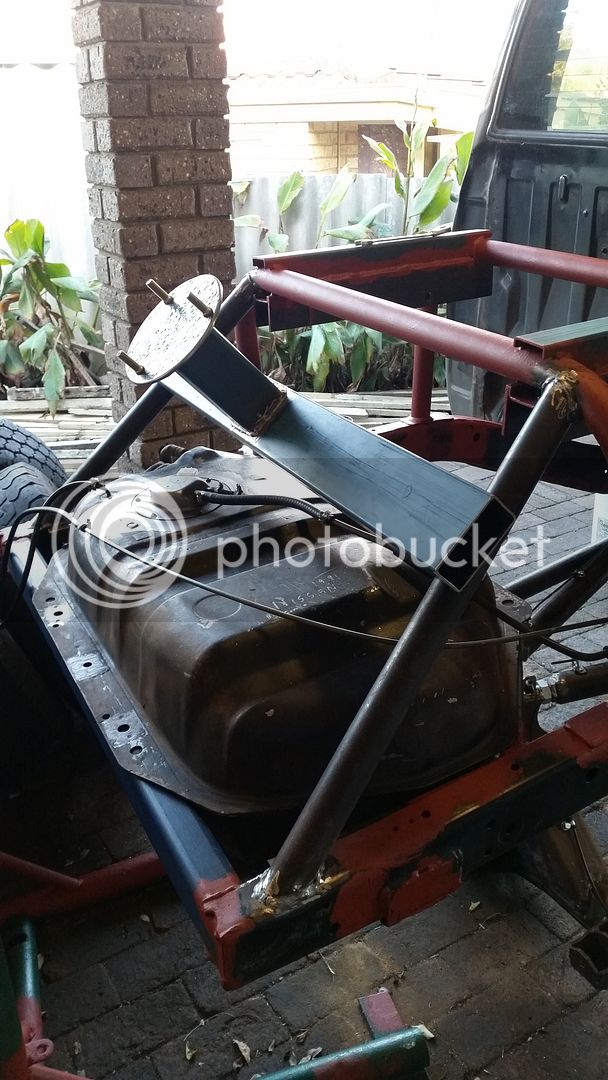
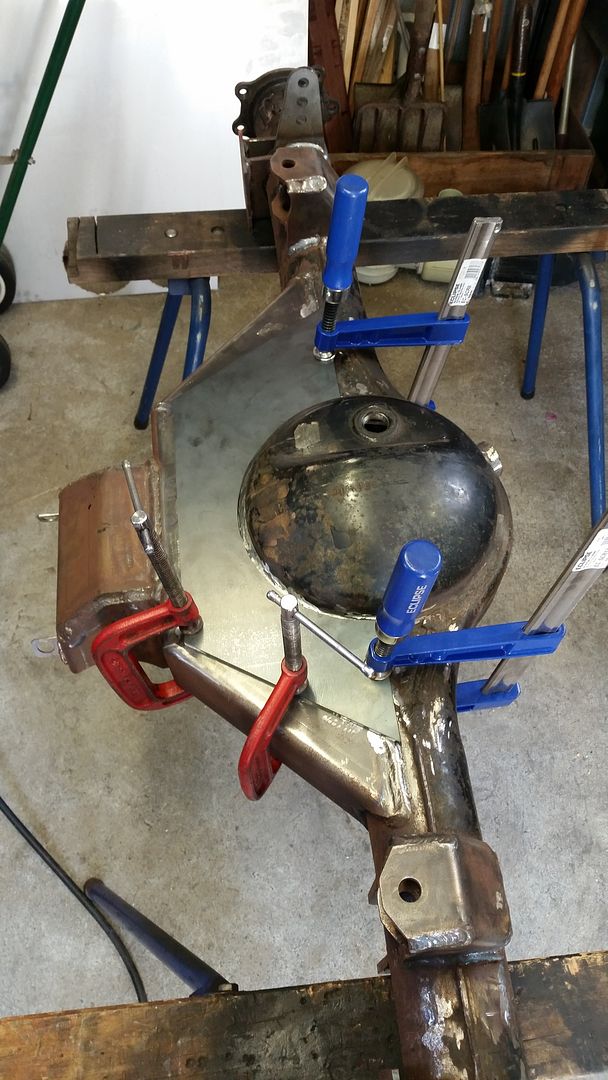
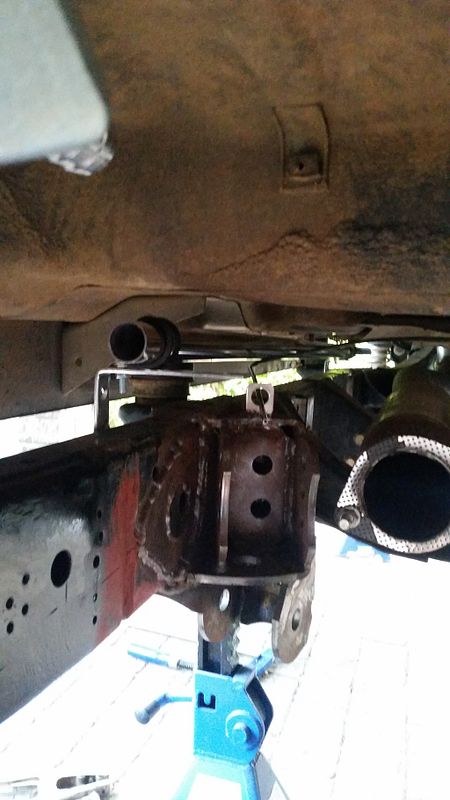
Tacked the sway bar mount in

Nice and close fit with the fuel tank
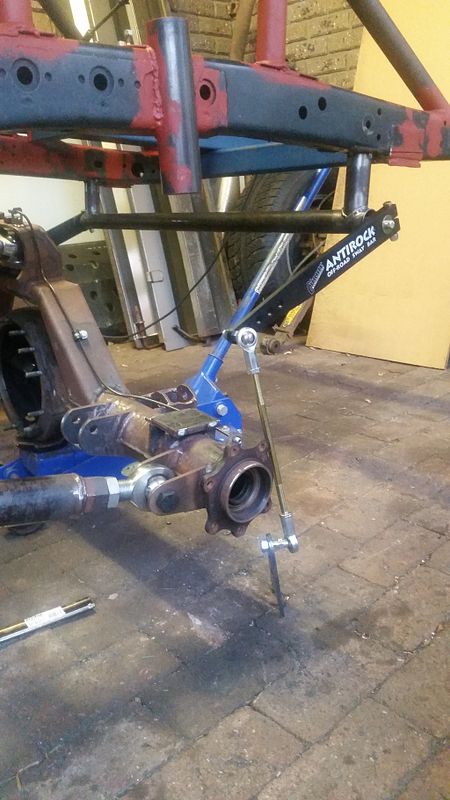
I will need to run some additional tubing at the rear to protect the fuel tank, that will be the next job on the cards
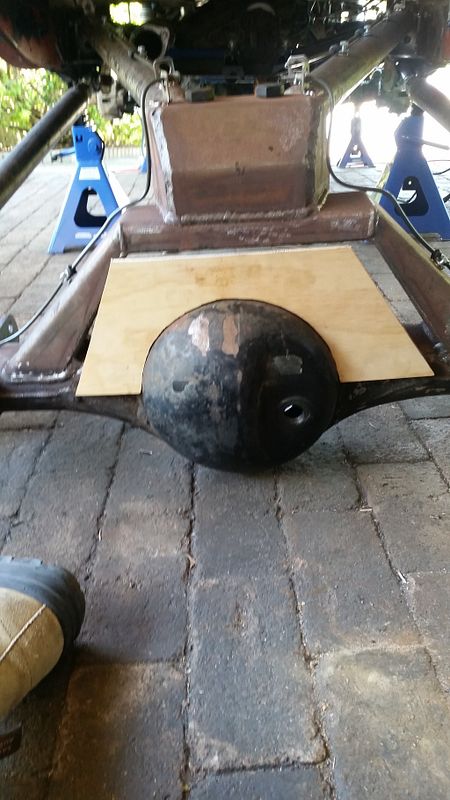
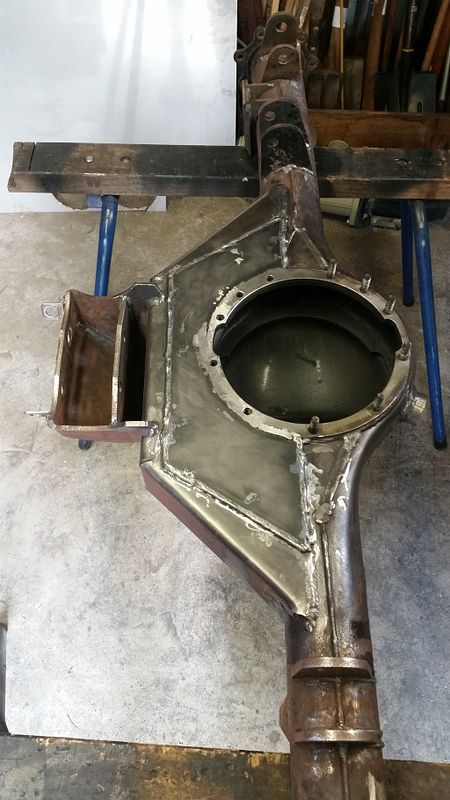
I decided to box the rear truss for extra strength. this was the first attempt at making a template
Im heading to Three Springs to watch the racing this weekend so Ill update the build thread in a weeks time
Cheers
Dylan
. Bit of a oversight on that one but hey thats what building a racetrack is all about. So now I'm looking at some sort of steering reverser as I still want to run the GU box
Tacked the sway bar mount in

Nice and close fit with the fuel tank

I will need to run some additional tubing at the rear to protect the fuel tank, that will be the next job on the cards
I decided to box the rear truss for extra strength. this was the first attempt at making a template

Im heading to Three Springs to watch the racing this weekend so Ill update the build thread in a weeks time
Cheers
Dylan

Leprechaun
Member
- Joined
- Apr 3, 2009
- Messages
- 2,792
- Reaction score
- 2
Make a steering quickner using 2 spur gears, fit it at the bottom of the steering column.
I can draw a sketch but if you Google steering quickners you should work out what I mean.
I can draw a sketch but if you Google steering quickners you should work out what I mean.
ShortyNavros
Member
That sucks about the steering man, hope it is an easy fix
ShortyNavros
Member
What welder are you using to weld all this up? I thought the first thing I could attempt is buying a h223b axle from a GQ or GU and cutting the ends off and flipping it. If i can manage that then i can look at links. What pinion angle and castor do you set everything at when you weld the ends on etc.
ShortyNavros
Member
Ah okay. Cheers for the info. I jus don't have the skill to have a crack myself. I'll have to wait till there is a kit in the market with the majority of it pre fabbed
Back into the shed over the weekend after another busy week. I went away to Three Springs with Ash, Junior and the Phillips crew over the long weekend and saw how great the track was there. I will definitely be going to three springs next year to race that's for sure!
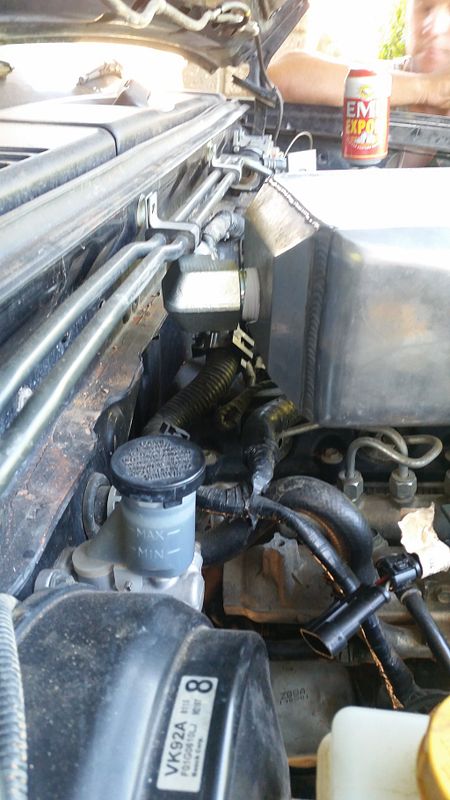
I bought a PSC power steering Reservoir to replace the stock one as I needed more fluid capacity so I spent Friday modifying the stock bracket to accommodate that.

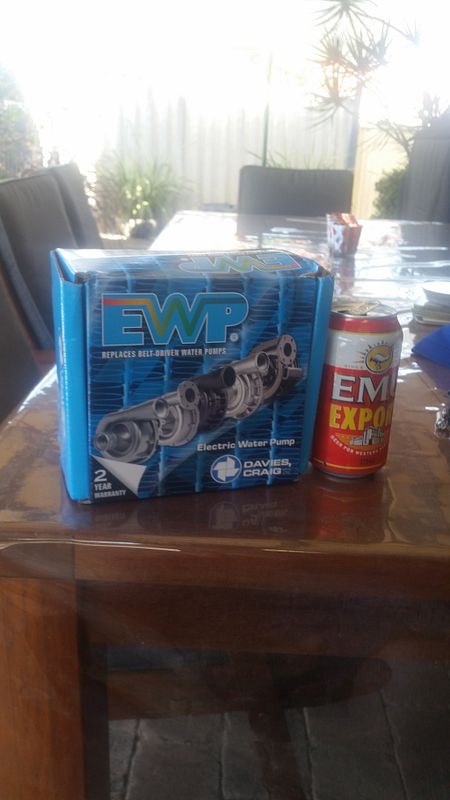
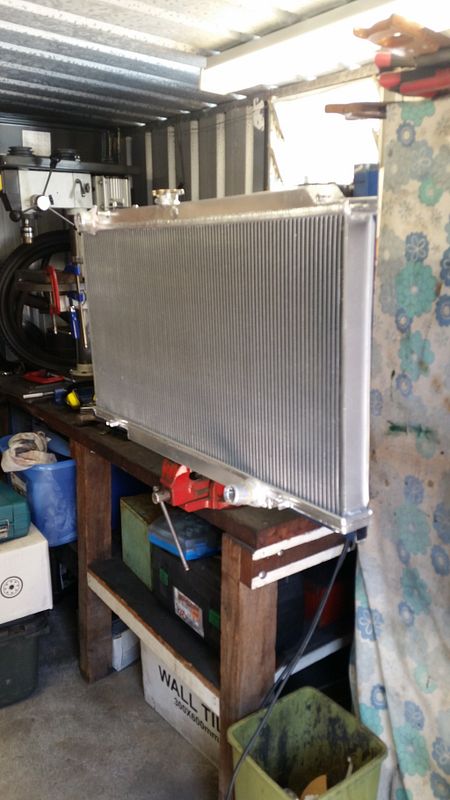
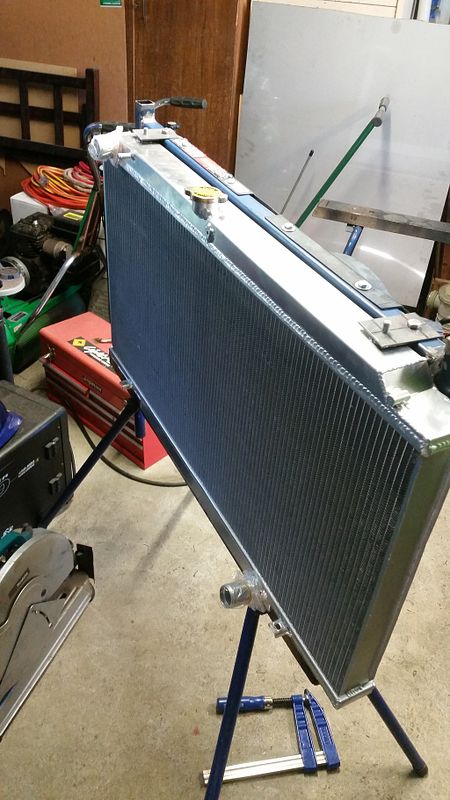
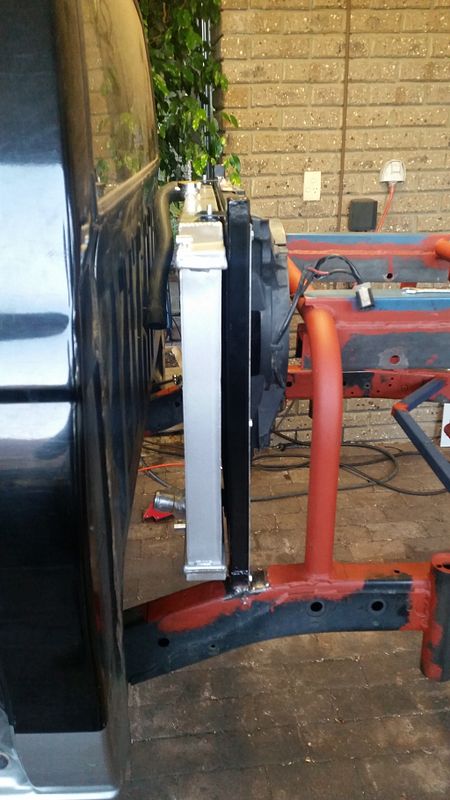
There is not much room left at the front of my car now the oil and power steering coolers are there and I had always planned to move the W2A radiator to the rear of the car. Being behind the cab there will be a lot less airflow onto the W2A radiator so I decided to "upgrade" the radiator size and thermo fans on it. I picked up a GU ally rad from eBay and bought a 150L/min Davis Craig water pump. The old water pump moved 25L/min and the old core size was 305 x 610 x 25mm. The GU core size is 450 x 908 x 52mm and if you do the maths that equates to 4.5 time the cooling capacity.
I bought a PSC power steering Reservoir to replace the stock one as I needed more fluid capacity so I spent Friday modifying the stock bracket to accommodate that.


There is not much room left at the front of my car now the oil and power steering coolers are there and I had always planned to move the W2A radiator to the rear of the car. Being behind the cab there will be a lot less airflow onto the W2A radiator so I decided to "upgrade" the radiator size and thermo fans on it. I picked up a GU ally rad from eBay and bought a 150L/min Davis Craig water pump. The old water pump moved 25L/min and the old core size was 305 x 610 x 25mm. The GU core size is 450 x 908 x 52mm and if you do the maths that equates to 4.5 time the cooling capacity.

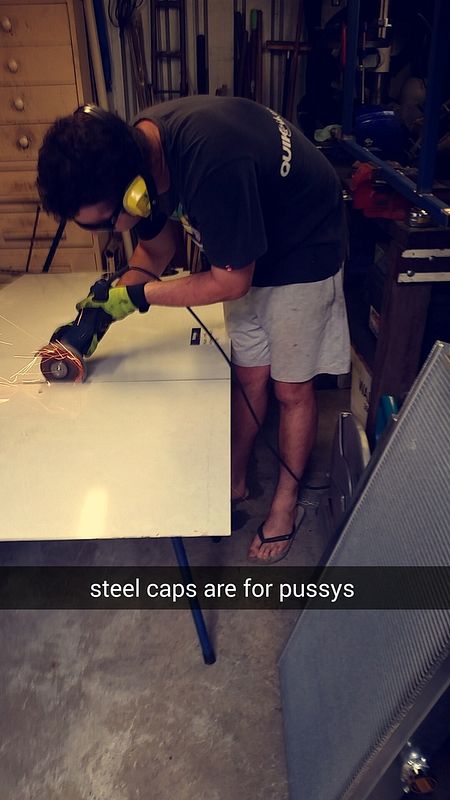
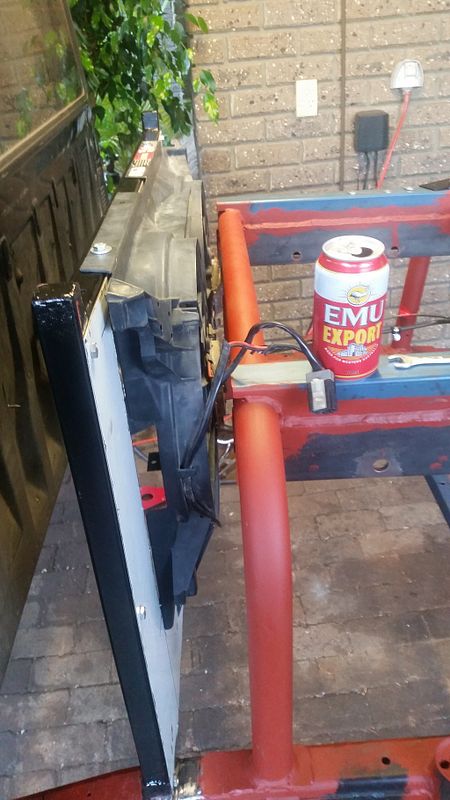
I tacked up a basic frame out of 30 x 30 x 2mm SHS to hold the radiator, it is slightly offset to the passengers side as I will use the same frame to hold the fuel cooler on the drivers side. I have a set of AU thermo fans and a large piece of stainless which I intend to use to make a shroud for the fans.
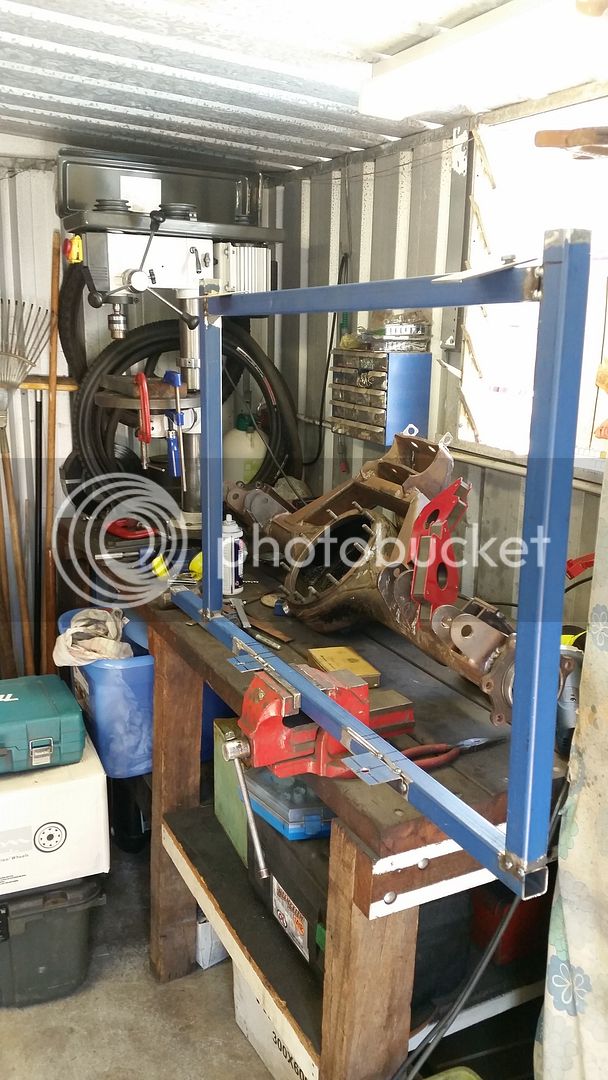


Radiator support is 90% done, just need to make some legs and weld it to the chassis rails and mount the fuel cooler to the drivers side. I will prime and paint it before installing it to save time later on.
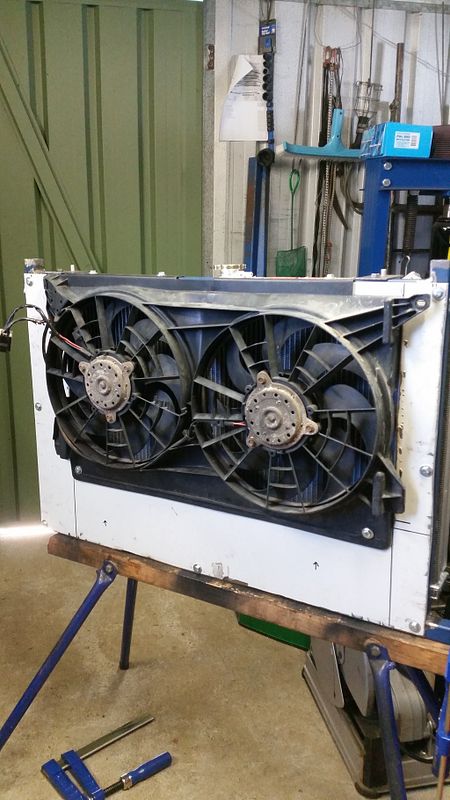
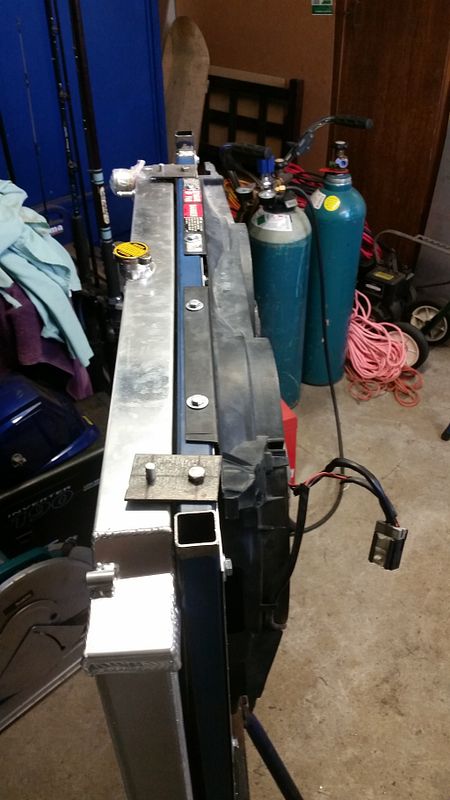
The AU thermo is held in place with 4 x bolts on the top and 2 x on the bottom.
The stainless shroud has another 8 x bolts holding it to the frame
I wired the fans up to test them and man oh man do they move some air. Enough to keep the tin shed cool on a hot day!
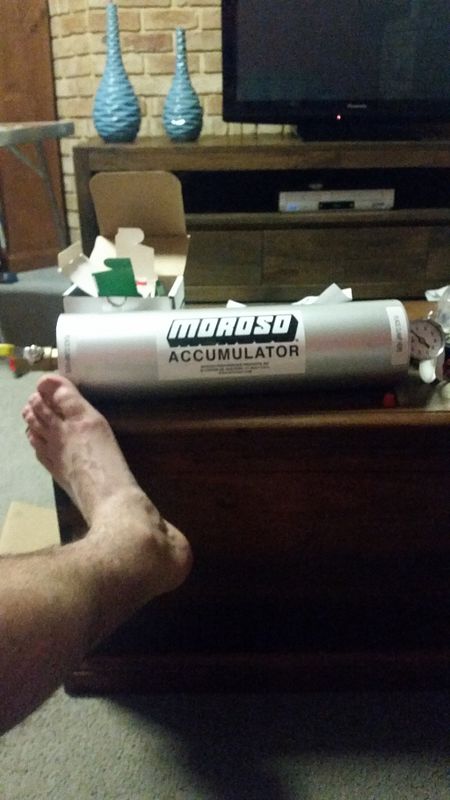
I also bought an oil accumulator this week. Plumbing that up will be my next job once the W2A and fuel cooler is all done.


The AU thermo is held in place with 4 x bolts on the top and 2 x on the bottom.
The stainless shroud has another 8 x bolts holding it to the frame
I wired the fans up to test them and man oh man do they move some air. Enough to keep the tin shed cool on a hot day!
I also bought an oil accumulator this week. Plumbing that up will be my next job once the W2A and fuel cooler is all done.


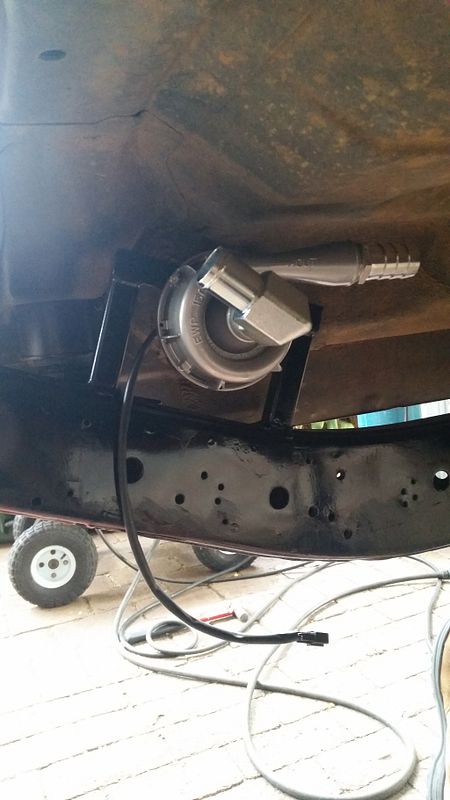
I got bored last night so I had a look at the oil accumulator I bought few weeks ago, its like a poor man's dry sump. The cylinder charges up when you are driving normally then will discharge and provide oiling to the engine should the oil pressure drop below 20psi. e.g. when cornering at speeds or if you put the car on its side and the pickup runs dry.
Comes with a shut off solenoid to the accumulator doesn't discharge when the engine stops, and it can be used to pre oil and engine before starting
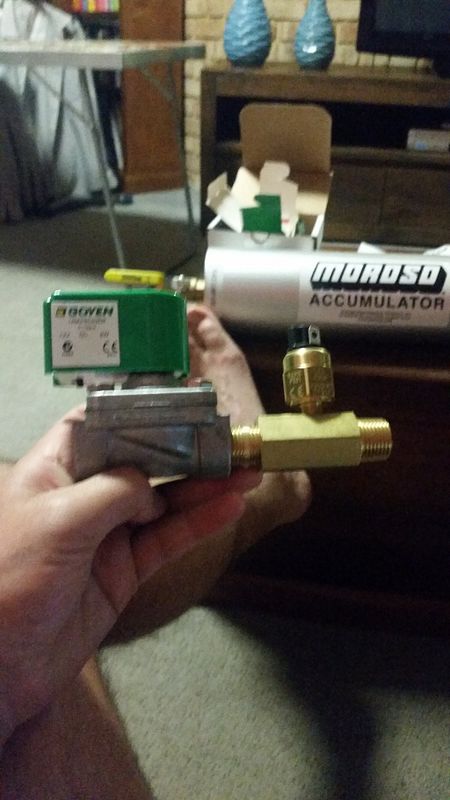
Internals of the solenoid, it comes with a 20 - 25psi pressure switch so it will discharge when oil pressure drops below this.
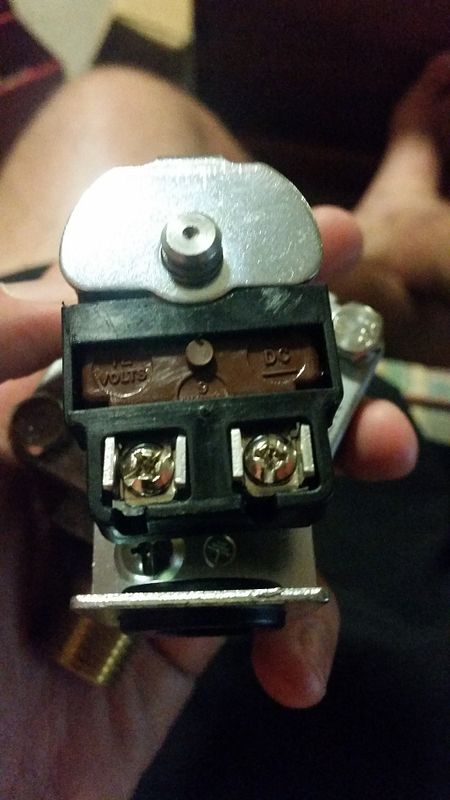

Comes with a shut off solenoid to the accumulator doesn't discharge when the engine stops, and it can be used to pre oil and engine before starting

Internals of the solenoid, it comes with a 20 - 25psi pressure switch so it will discharge when oil pressure drops below this.

Finally got the last bit of bracing back from the laser cutters. Burnt it in over the last few days. Rear diff is now pretty much complete minus the limit strap mounts but Ill put them on later once the car is moveable.
I finally finished uni for the year this week so I can really get stuck into the build over christmas


I finally finished uni for the year this week so I can really get stuck into the build over christmas
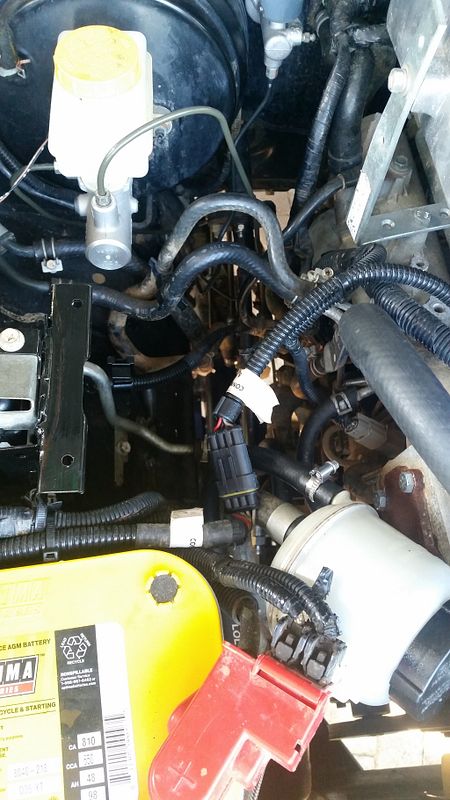
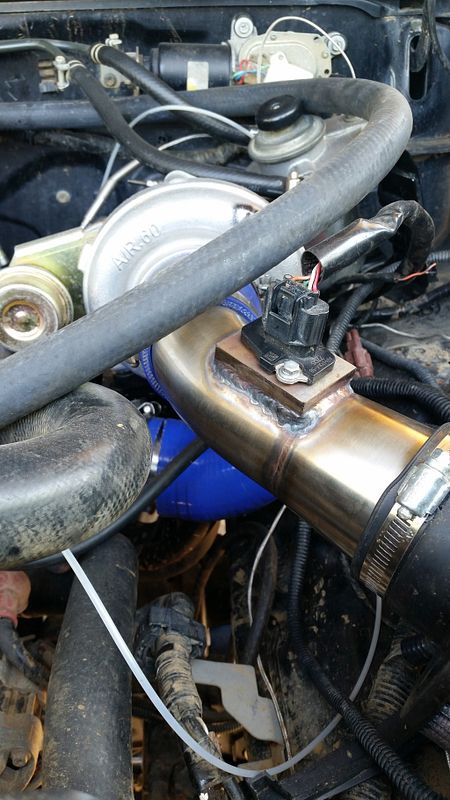
MAF sensor welded in. Im going to run a different intake but this will do for now
Few pics of the rear radiator setup, all welded in. Now I'm working on the plumbing and building a bracket for the water pump. This will be very time consuming as I'm running 1 1/4"stainless hard lines.
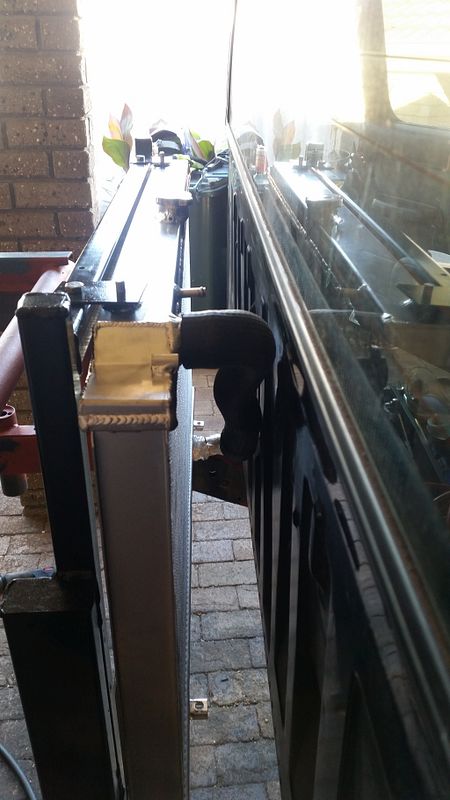
The GU radiator has 1 3/8" outlets (35mm) which is a very uncommon size so I had to get a little creative by using an existing GU top hose and I found a 35 > 32mm reducer for the bottom

Few pics of the rear radiator setup, all welded in. Now I'm working on the plumbing and building a bracket for the water pump. This will be very time consuming as I'm running 1 1/4"stainless hard lines.


The GU radiator has 1 3/8" outlets (35mm) which is a very uncommon size so I had to get a little creative by using an existing GU top hose and I found a 35 > 32mm reducer for the bottom
Water pump is in
Im going to run both the sent and return piping down the passengers side, used the same method I did for the brake and fuel lines; some zinc 90 deg brackets from bunnings and P clamps. Simple yet effective
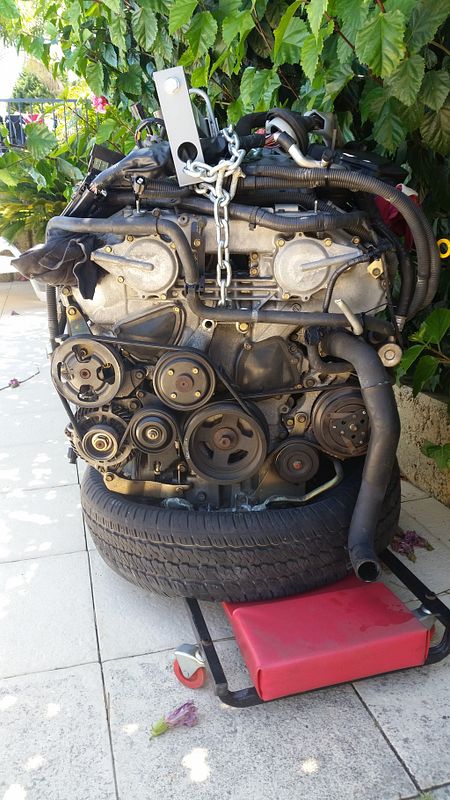
I bought a VQ35DE as a bit of a long term project......

Im going to run both the sent and return piping down the passengers side, used the same method I did for the brake and fuel lines; some zinc 90 deg brackets from bunnings and P clamps. Simple yet effective

I bought a VQ35DE as a bit of a long term project......

Last edited:
Had the W2A core fittings drilled and tapped to take the 1 1/4" fittings
Its gonna flow so much better now
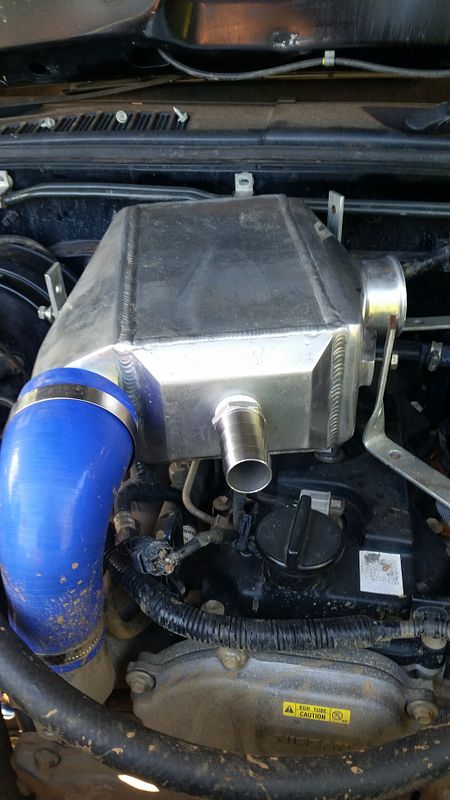
Also put a manual boost controller on the secondary turbo so I can experiment with running different boost combos

Its gonna flow so much better now

Also put a manual boost controller on the secondary turbo so I can experiment with running different boost combos
Last edited:
Similar threads
- Replies
- 11
- Views
- 3K