04SilverSTR's D22

Nissan Navara Forum

Help Support Nissan Navara Forum:

This site may earn a commission from merchant affiliate links, including eBay, Amazon, and others.
Ok so today i but a momentary on-off-on rocker switch in the cab for my winch, and also a winch isolator under the bonnet, i did this in because the winch doesn't need to be live all the time and to stop fiddly finger activating it in the cab.

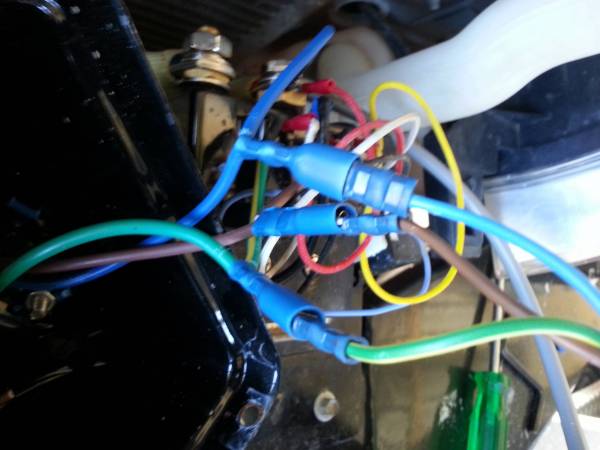
so first i taped into the wire on the control box that go to the plug for the hand piece.

20130804_150731.jpg


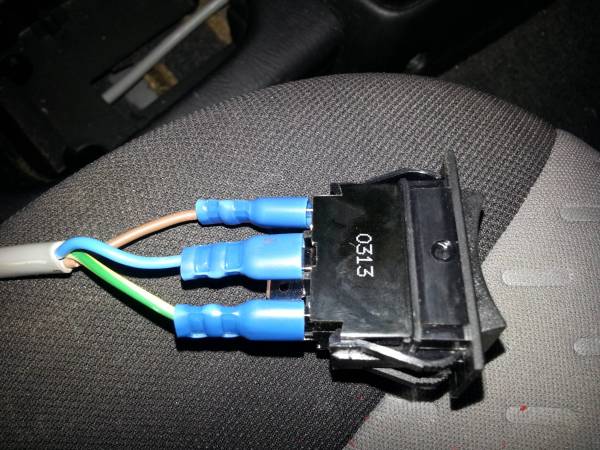
this is the switch used, a momentary on-off-on rocker switch from autobarn
the cable use is 0.75mm extension lead type cable from work, basically the same as whats in the hand piece any way.
20130804_151113.jpg


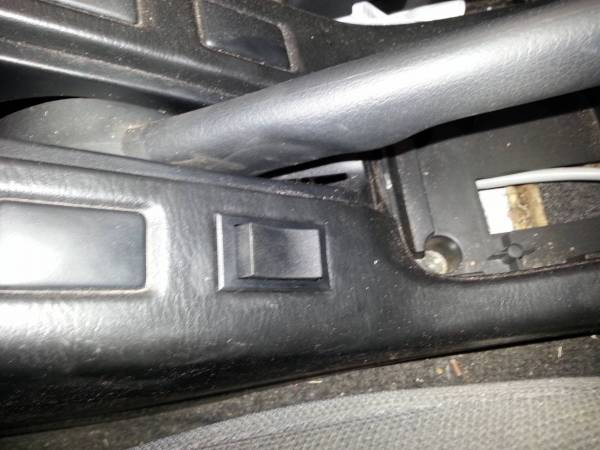
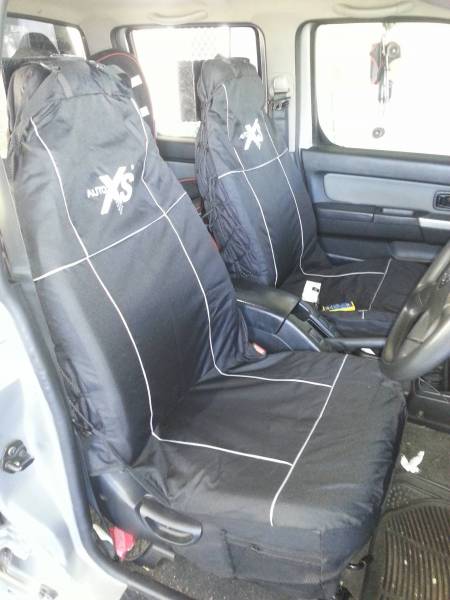
I mounted it here as it seemed the best and easiest place to use it while driving and winching.
20130804_151150.jpg


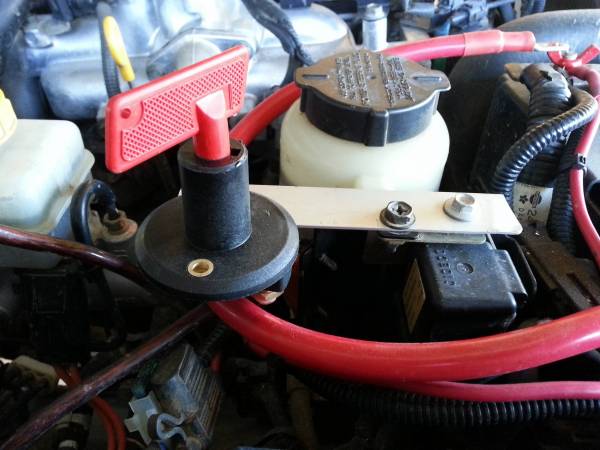
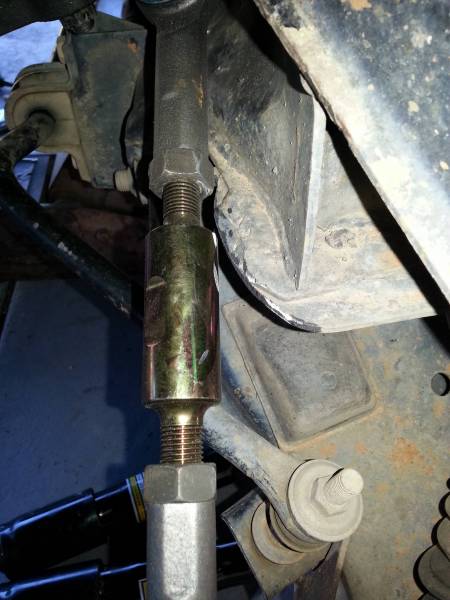
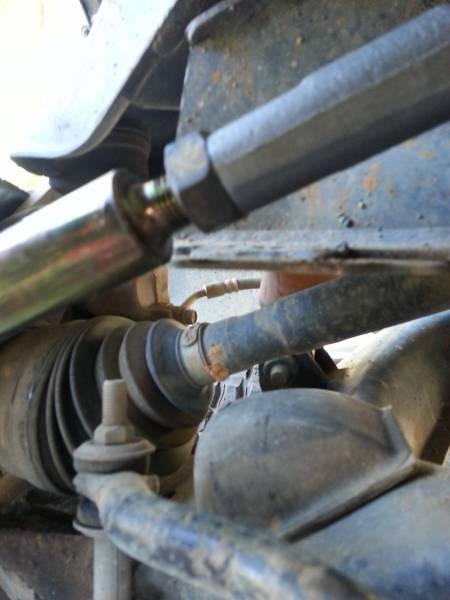
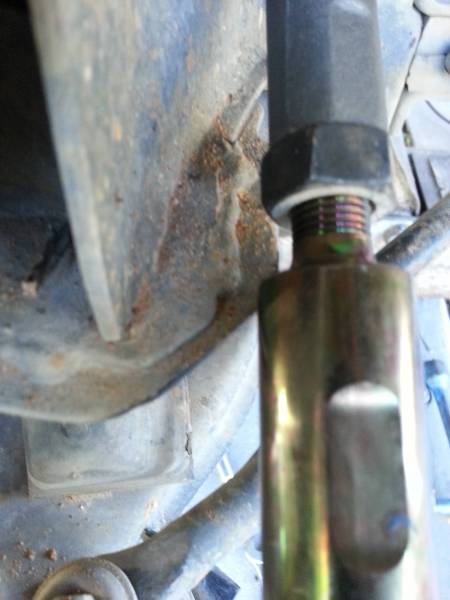
and lastly the isolator in place, just got to get some lugs for the cable to finish it off.
20130804_162040.jpg


cheers
bryan
 
Last edited:
I also picked up a 40w solar panel off ebay, got all the bits separate and put it together my self, went for 40w as thats all i need to keep the camper topped up with away and it nice and small. total cost $100

20130803_154547.jpg


20130803_154559.jpg


20130804_134814.jpg


bryan
 
Got a busy weekend ahead of me, my superior offroad drag link, tie rods and heavy duty adjusters turned up this week so they will go in, also got to service the ute ready for our trip away in sep!

bryan
 
So today i installed the superior offroad drag link, tie rod ends, HD adjusters and ider arm brace after it all FINALLY turned up, I had to wait for the adjusters to get zinced and then a few pub holidays came along as well, it all seems good quality gear. All the joints have grease nipples and come with castle nuts and split pins

Got the adlignment as good as i could but its going in monday for one. but the short drive i did it seems all good, so much tighter in the steering and doesnt wander anymore as the left tie rod ends had play in them.

any here are some pics
Old VS new
20130824_132144.jpg


Ider arm Brace
20130824_132154.jpg


Ider arm bushes, the factory one were still sort of ok but i but these in anyway, as you can see nolathane make them.
20130824_133553.jpg


to be continued
 
Last edited:
Now i ran into some dramas on the left side, due to the size of the adjusters it fouled on the bump stop plate, this was with the car up on the jack so full down travel, a quick touch up with the grinder and it was all clear, but there still isnt alot of room.

20130824_145225.jpg


the right side before grinding, it did it but was bloody close!!
20130824_145614.jpg


20130824_145625.jpg


While i was going i chucked on the other set of maxitrack shocks i got with the lift kit i bought originally as i suspected the ones i put in just after i got the car 2 1/2 year ago were on the way out. I was right, they still had a little rebound in them but after being compressed by hand came out at least half the speed of the new ones, the ride is alot better now! so if your ute is starting to fee rough again even with after market shock they are probly shagged.

I know of an old mechaninc up here that just by driving my mates patrol could tell the EFS shock the were only 2years old had gone hard! He just uses cheap shocks and replaces them every 12-18months!

cheers bryan
 
Last edited:
I also picked up some canvas seat covers from Aldi today, the seem to fit ok and look alright too, cant go wrong for $30, also got a tyre repair kit too.

20130824_105735.jpg
 
Wheel Alignment is done after the new steering bits went in, all was good and it adjusted up no worries at all, still got a slight pull to the left buy im sure thats the CRAP roads we have here!!

bryan
 
so i spent yesterday in between watching v8s taking my rear bar off and putting some checker plate in. Fairly happy how it turned out, would really like a ARB rear bar or maybe a custom job one day.

The ally size is 160mm x 50mm i was too tall and it made the corners stick out but with a little mature thought i kinda folded the corner so i was flush with the tub, drilled the hole then bolted it in. Total cost for this was $22.50, $20 for the ally and then i had to get some angle to mount the LED strip as the number plate light.


Cheers
Bryan
 
Last edited:
thanks dilmah, this was instigated by catching and slightly twisting the factory bar last weekend, and I always had it in my head it would go the day I did that!

bryan
 
Roof rack

So i went to super cheap today and got the rack i have been eyeing off, They are on special at the moment for $175 and com with everything you need!

I think it should do the job i want, i didnt really want a basket as such.


Last edited:
Thanks bart, yeah not much to go now, probly some new rear springs and shocks before the cape next year, also i have and I/C in the pipe line, but i will post once i know what im doing.

bryan
 
mate was just wondering how much and where you got your canvas from and who fabled it up?
 
So last weekend i gathered all the bits to build a faulse floor and draws in the back of the ute. Total cost so far is $180, Its not perfect but i think it will work well. Thanks goes to 180%joe for inspiration on how to set mine up ;)


I have left room at the font of the tub to jerry cans or the tool box or the recovery kit, should work well like this.
 
Last edited:
Starting to come together, The draw runners i used are from bummings, they are 550mm long soft close 40kg kingslides, i think they should be up to the task, and for $24 each you cant go wrong really

Lift out hatchs for storage

Ready for paint
 
Last edited:

Latest posts

Back
Top