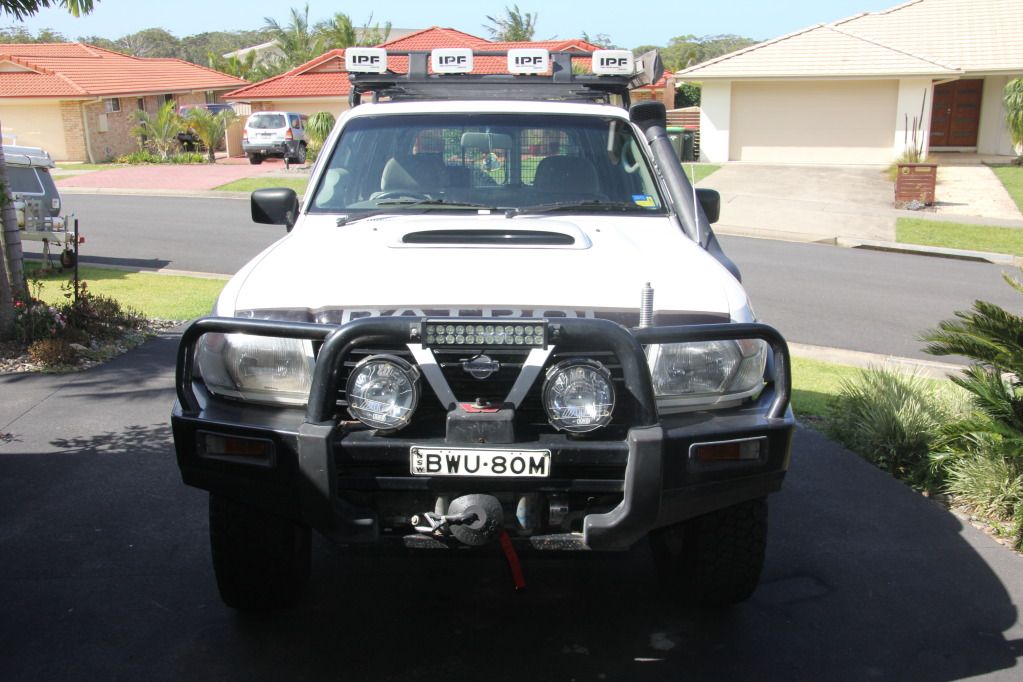
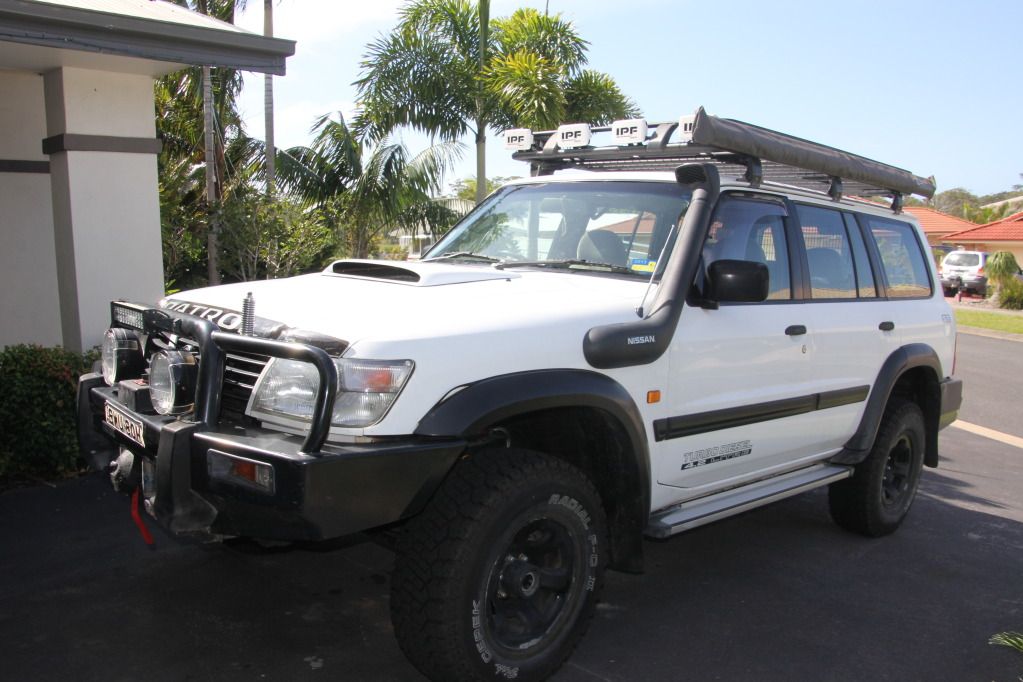
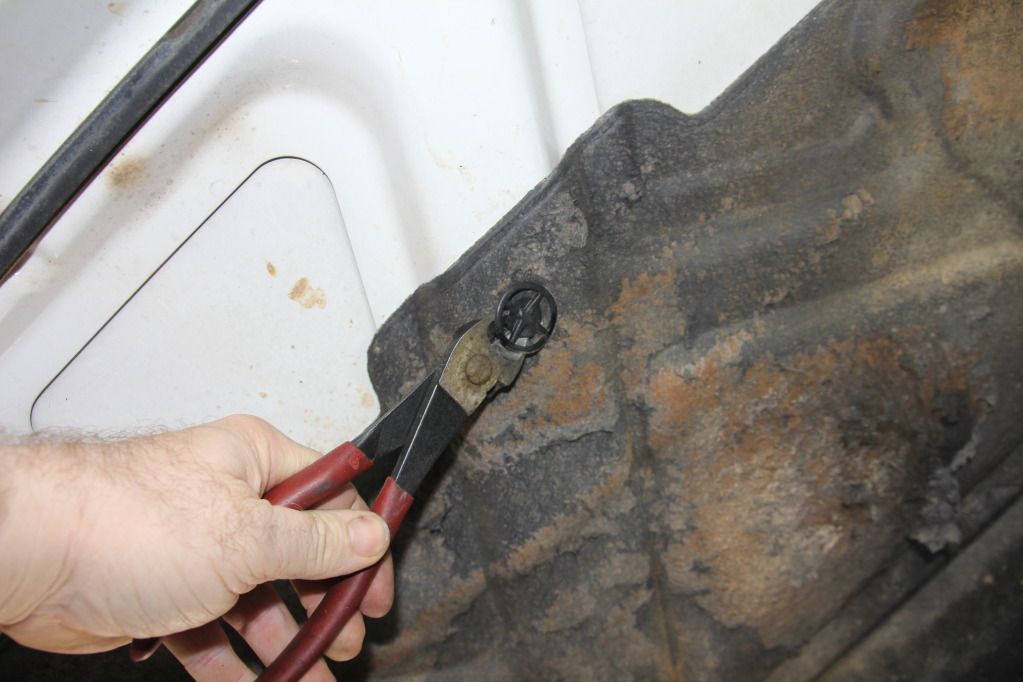
Pop the bonnet and remove the insulation lining attached to the bonnet.
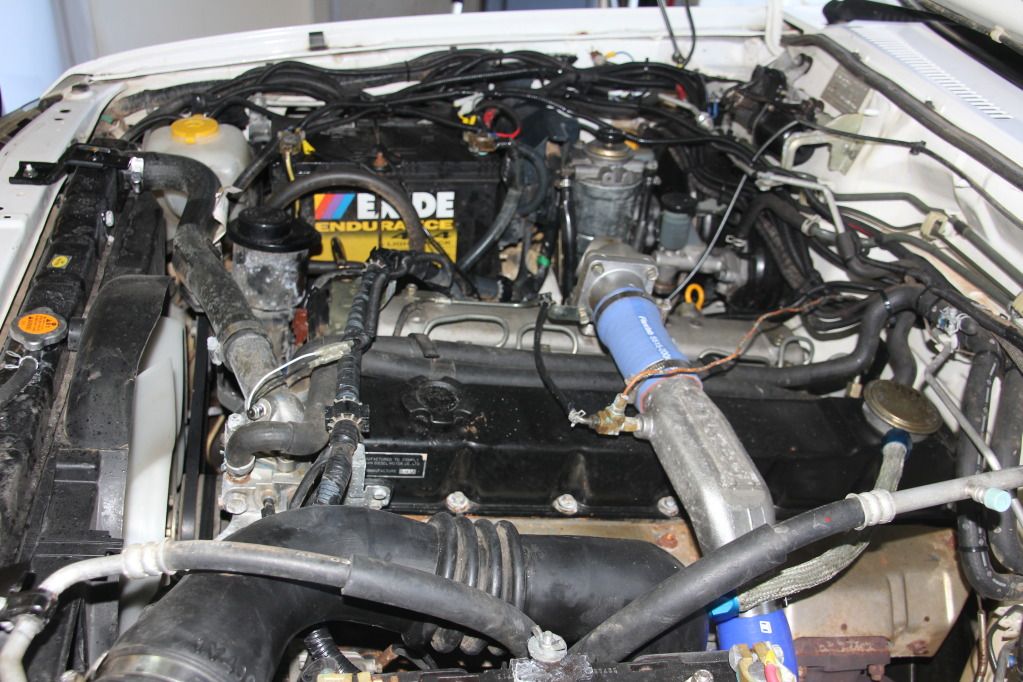
Disconnect the boost actuator tube from alloy inlet cross over pipe. Undo hose clamps from turbo inlet housing and the inlet manifold elbow and then remove the old factory intercooler aluminium cross-over pipe.
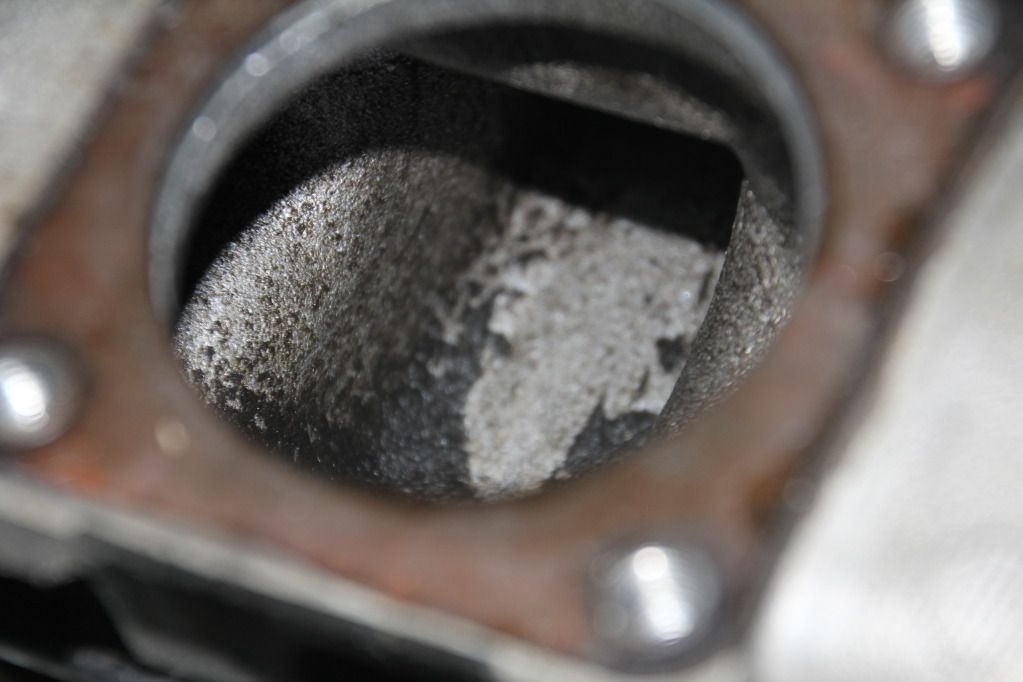
Undo and remove the 4 x 12mm bolts that secure the old inlet-manifold elbow to the inlet manifold. Gently remove old elbow trying not to damage the old gasket! (Note the black sludge residue inside the inlet manifold) If you are not replacing the old inlet-manifold, clean inside before fitting new elbow.
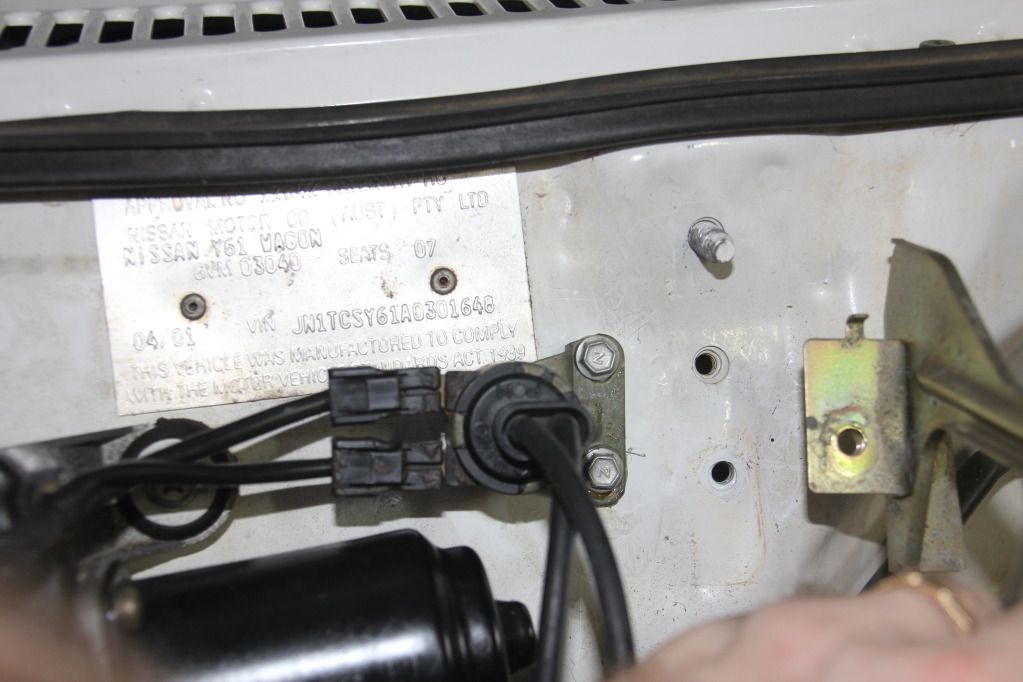
Using a 10mm spanner or socket disconnect and remove the air-conditioning idle solenoid from its bracket. Now pre-drill 2 x 3mm holes in the firewall and then using 2 x metal 5mm tek screw's, bolt the solenoid to the firewall. See photo
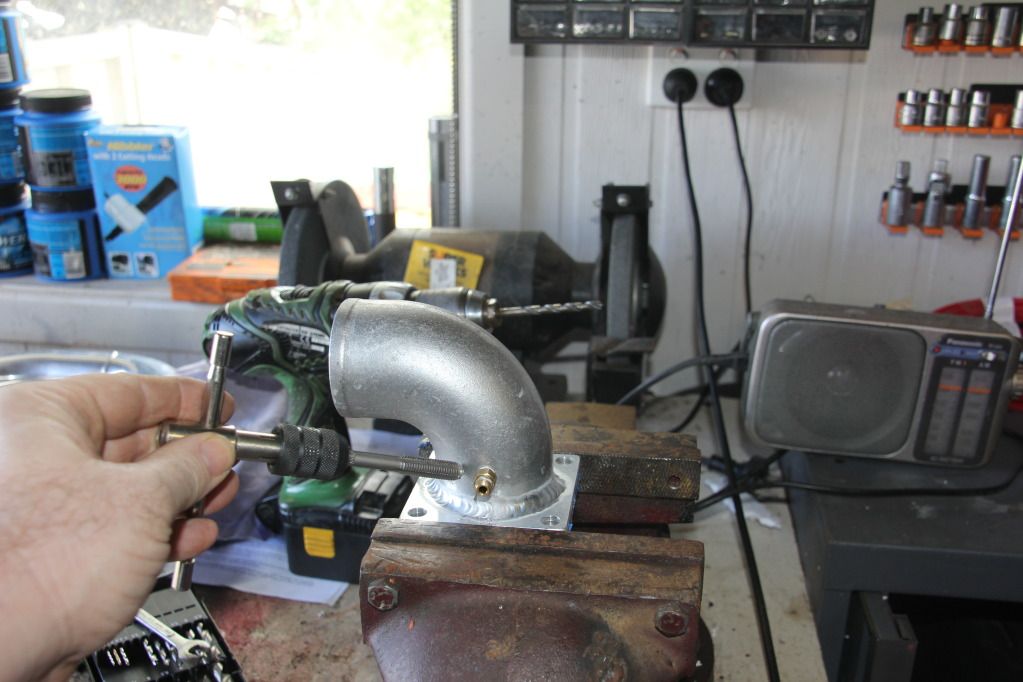
Fit your boost gauge fitting to the new elbow.
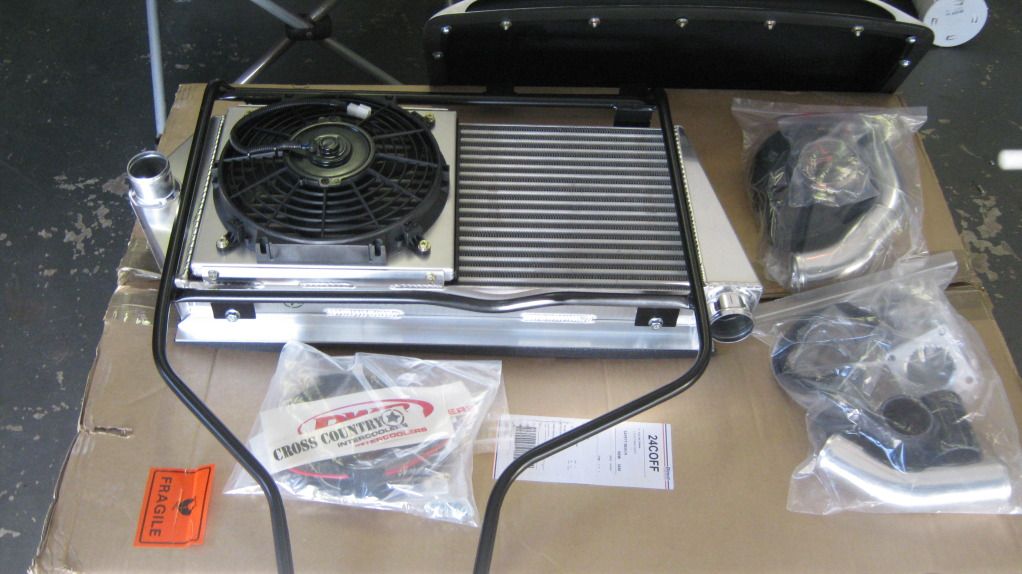
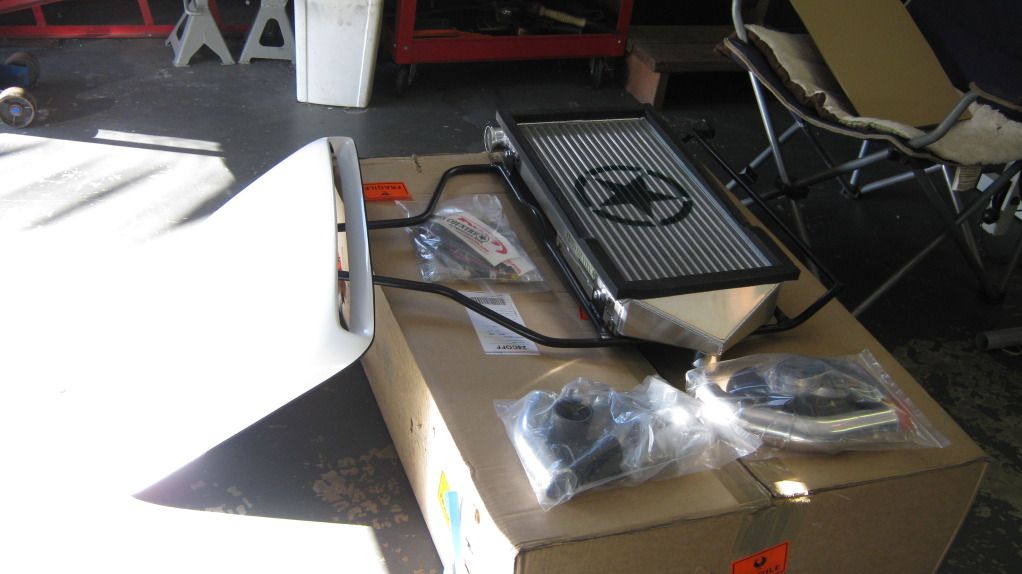
Installation
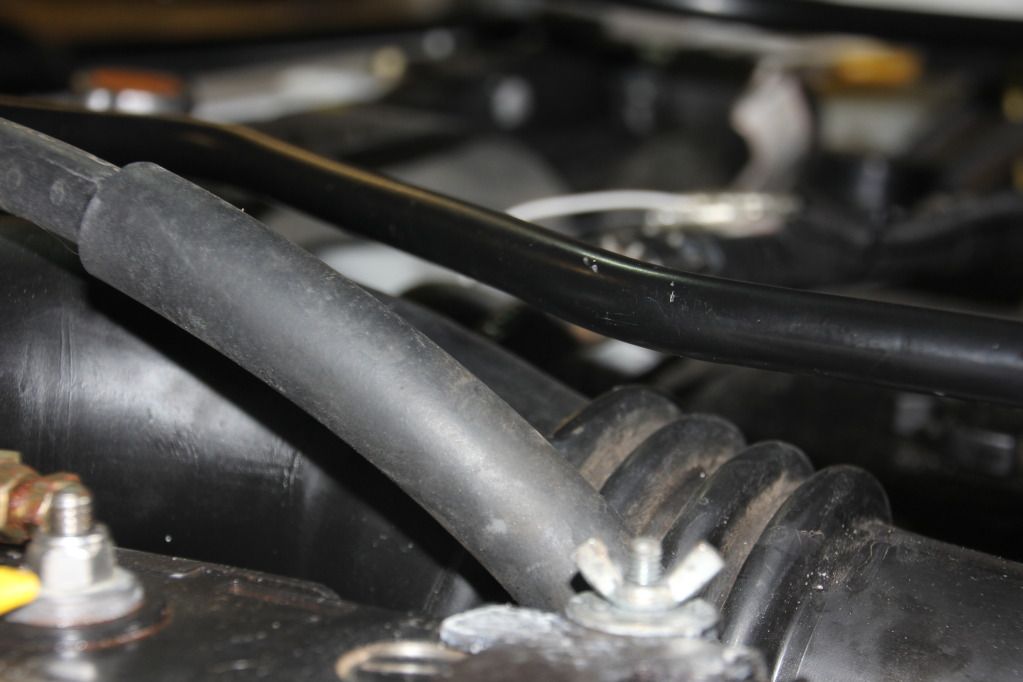
Now fit new inlet elbow to the inlet-manifold using silicon gasket cement to both sides of the old gasket. Fit the 4 x 12mm bolts and then re-bolt to the inlet-manifold. (do not over tighten) Fit boost gauge line into fitting in the new inlet elbow. Now fit the new black rubber tubing (supplied with the kit) from the brass fitting in the new inlet elbow to the actuator metal tubing from the injector pump.
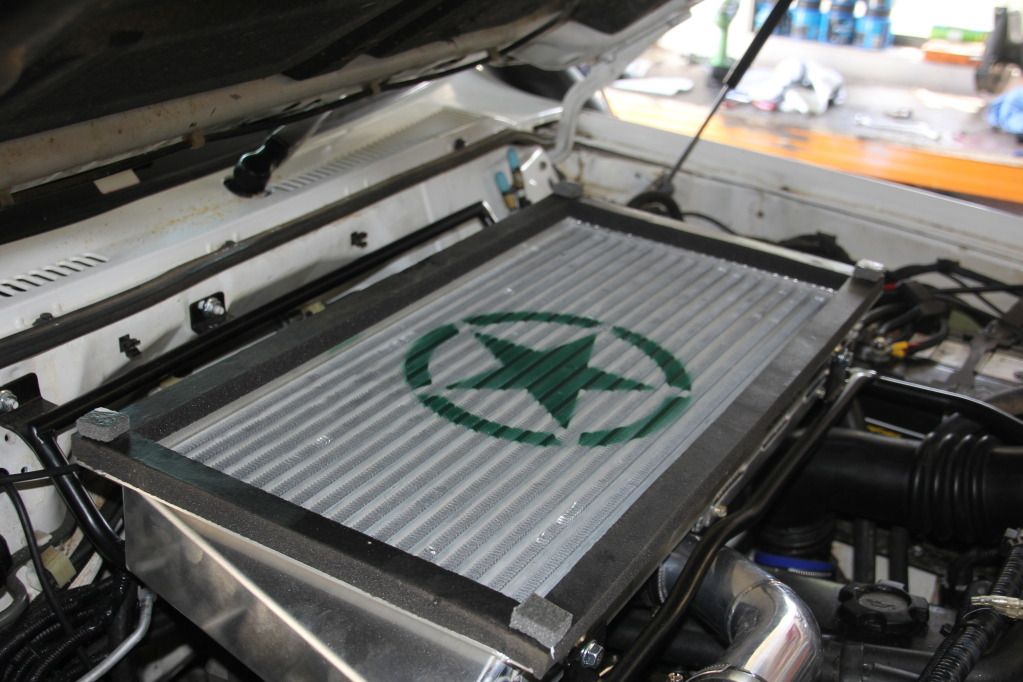
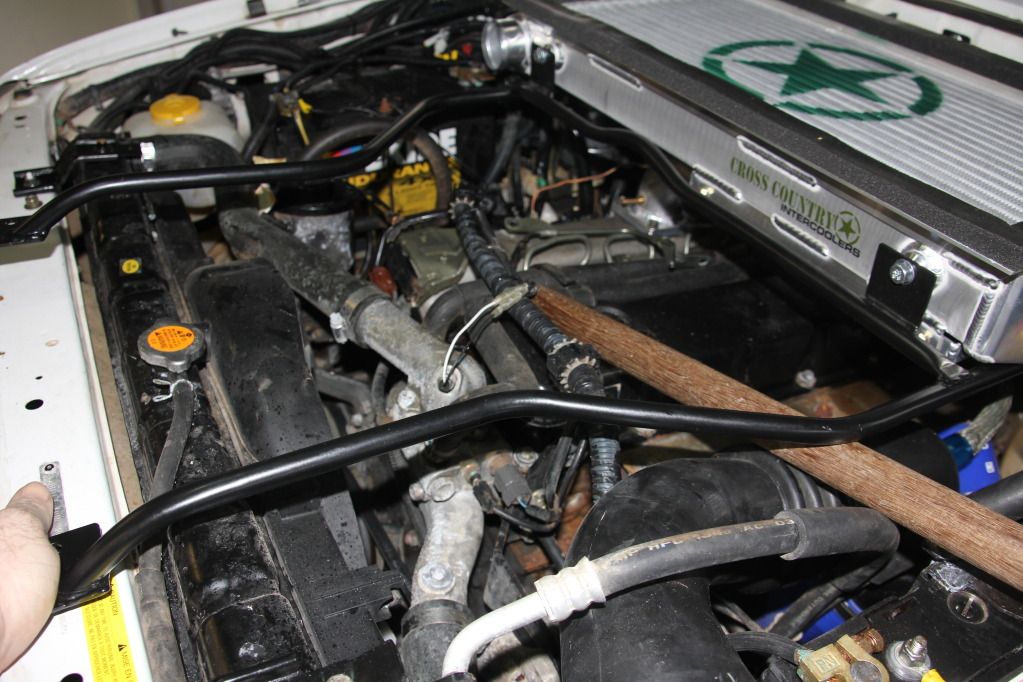
Now fit one of the small silicon pipes to the inlet housing of the turbo. Then fit one of the silicon elbows to the new inlet elbow. Because i was working on my own, I then placed rags on top of my guards and then sat my long handle shovel across the guards to help me safely sit the intercooler in place.
Position and fit cradle assembly to the two studs on the firewall. Fit the 2 x 13mm nuts supplied in the kit. Do not tighten nuts yet!
To get a better clearance from the cradle from the air-duct piping. I used my long handle shovel again, this time i placed it on the oil filer cap and resting it on the passenger side guard. I then gently pressed down on the cradle to slightly bend it. I call this shoe-horning. lol
This then allowed the cradle from resting on the air-duct piping! This also allowed for proper alignment and fitment to the radiator support panel.
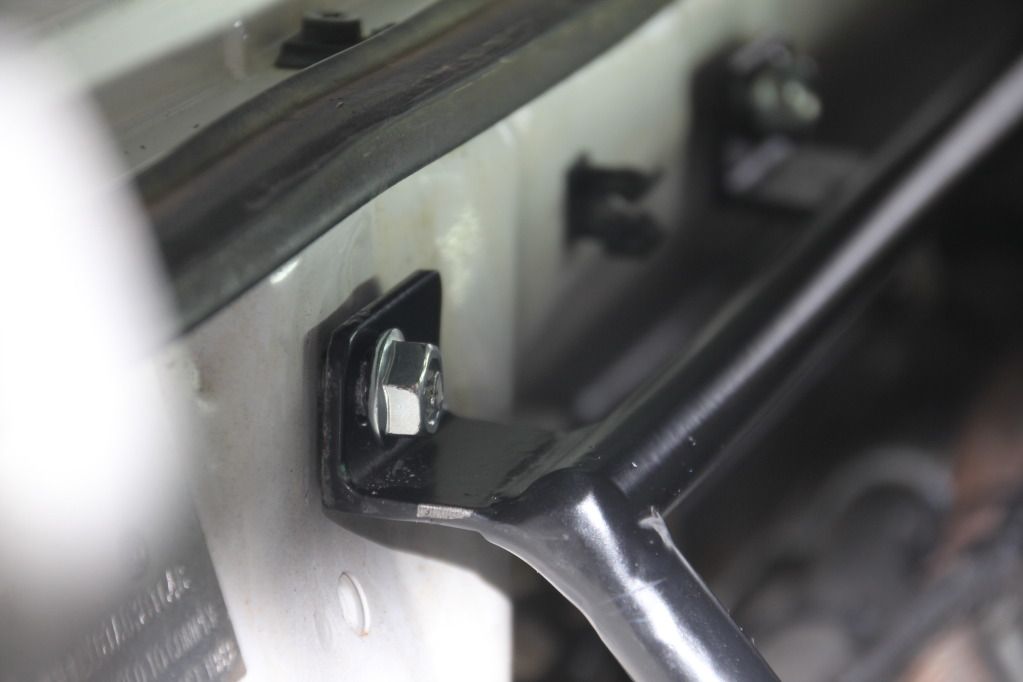
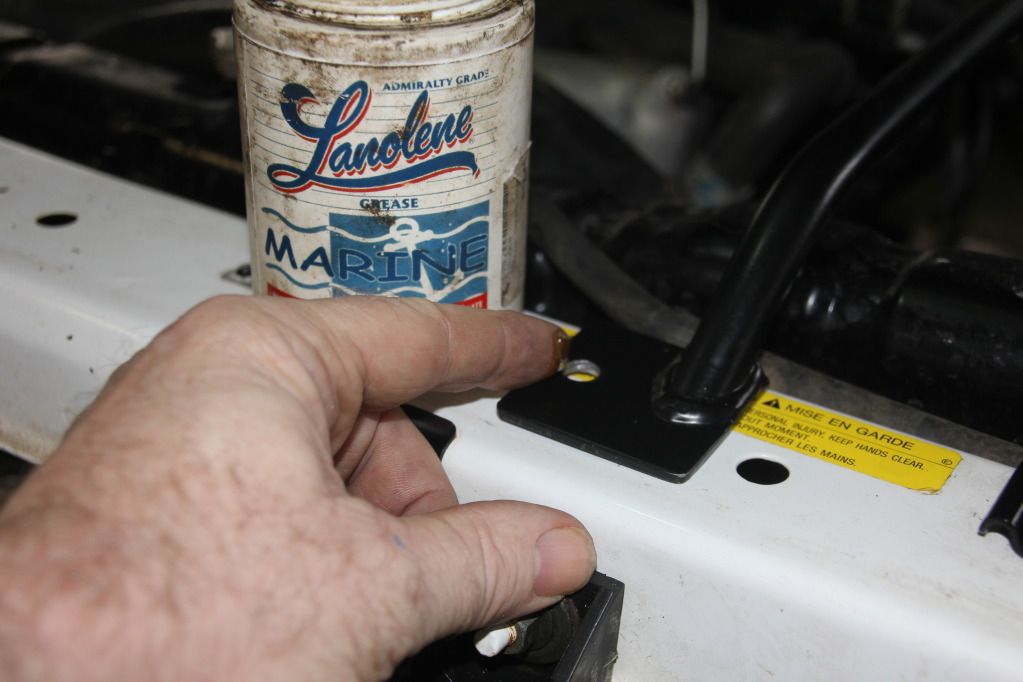
Now gently adjust the air-conditioning pipe on the passenger side to help clear the intercooler. (Gently) With the cradle sitting firmly on the radiator support bracket, mark and drill 2 x holes. ([I When drilling the 2 x holes, make sure you do not drill into wiring loom that is under the radiator support panel.[/I]) Clean all shavings from area and coat holes with lanacote to help prevent rusting.
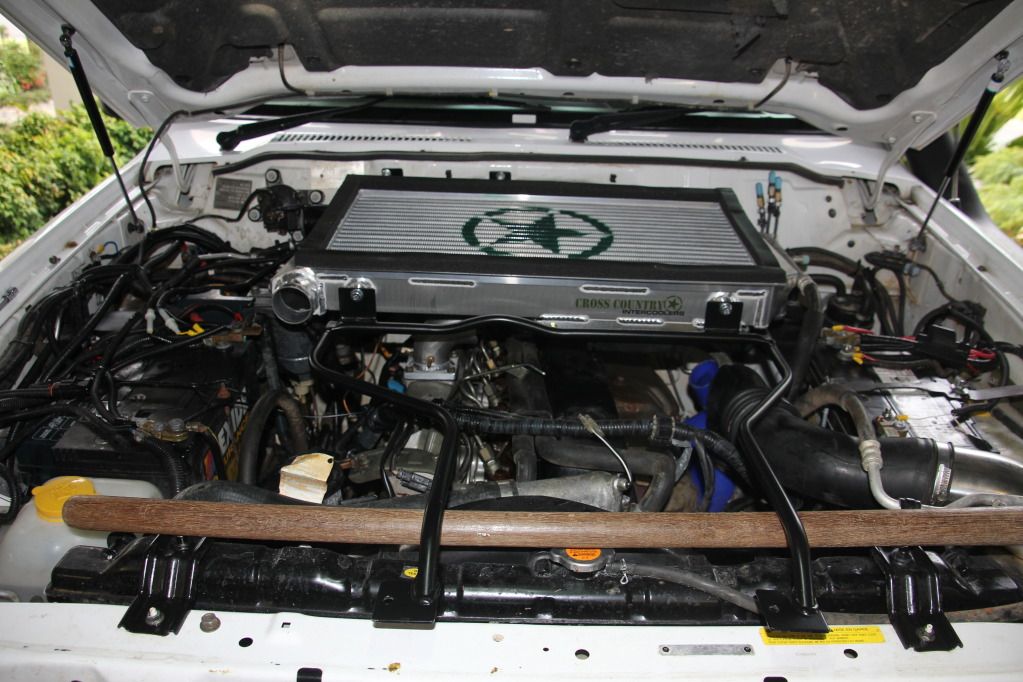
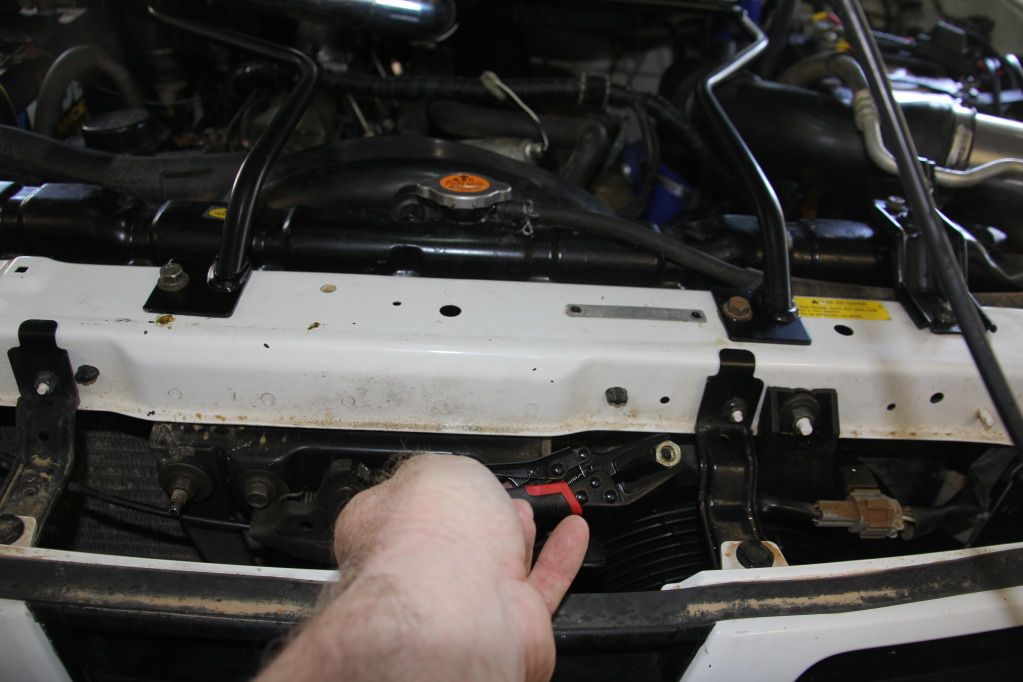
I then gently rested the cradle frame on my long handle shovel. I then fitted and clamped the allow pipe into the silicon elbow that is attached to the new inlet manifold elbow. I then fitted 2 x clamps and the other alloy section into the inlet turbo housing silicon joiner. (do not tighten clamps yet) Check to see that intercooler is aligned and sitting properly and then slowly tighten the 2 x radiator cradle bolts and then the 2 x firewall nuts. Now firmly tighten all 4 nuts and bolts. I used a small pair of multigrips to hold the 2 x nuts for the radiator cradle bracket bolts, whilst fitting them underneath the radiator support panel. Now tighten up all silicon hose clamps. Intercooler is now installed.
I will conclude with Part 2 (cutting hole in bonnet) tomorrow!
Awkward on your own isn't it, I was lucky the d22 kit is smaller and more manageable, oh and my youngest boy helped he,s 13. You've, turned that trol into a real tourer now
I remember cutting my bonnet, it's bloody scary. I measured and measured and then with a puckered up &$$hole I cut it, thank Christ it was all good, masking tape and some good drop cloths to stop any holes being burnt in the paint from sparks of the grinder. Good luck
Awkward on your own isn't it, I was lucky the d22 kit is smaller and more manageable, oh and my youngest boy helped he,s 13. You've, turned that trol into a real tourer now