raywise
Member
Looks good Russ. 


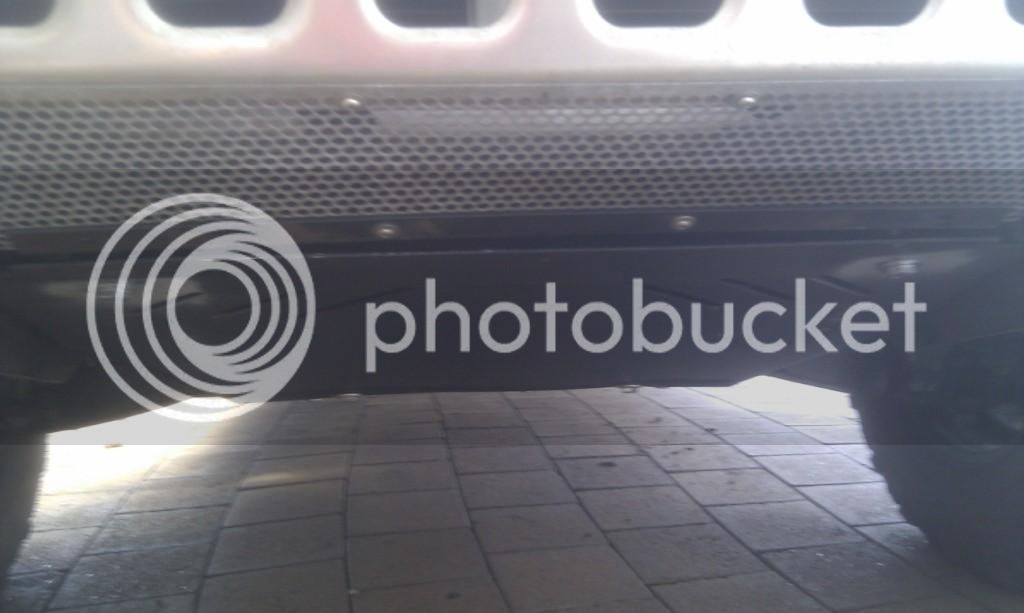
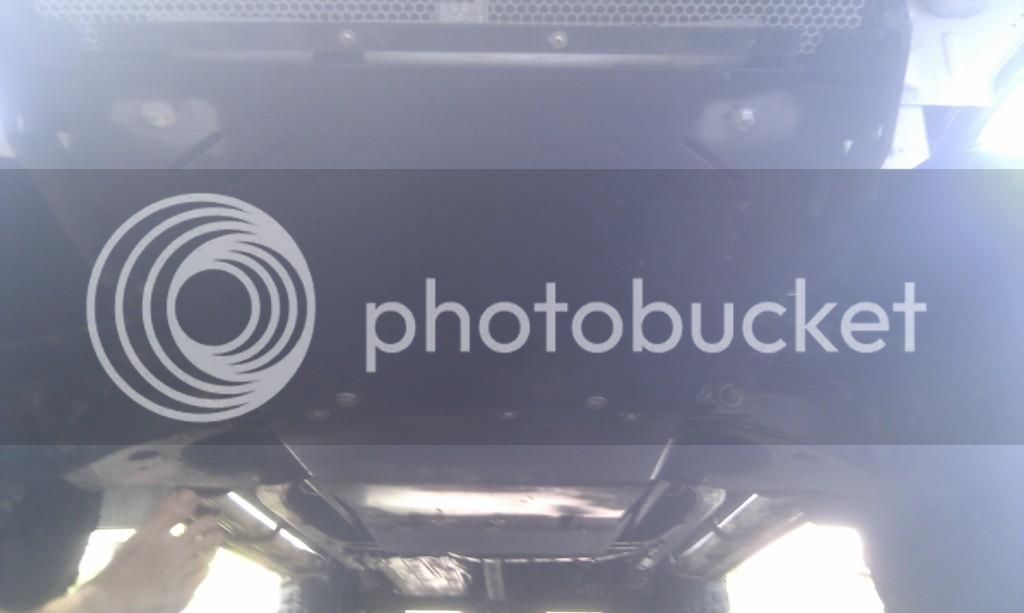
sparra04;155678 ime interested in seeing some pics of bashplates said:Theres some pics here http://www.navara.asia/showthread.php?t=10283&page=6 of mine Sparra that Ironman fitted for me. They worked out great after some minor cutting to fit with the alloy bar, but for $230.00, you can't go wrong.
Sounds good mate. The plates weren't to beaten after the weekend?
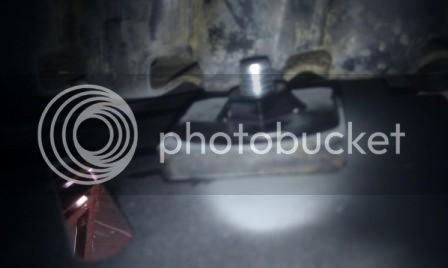
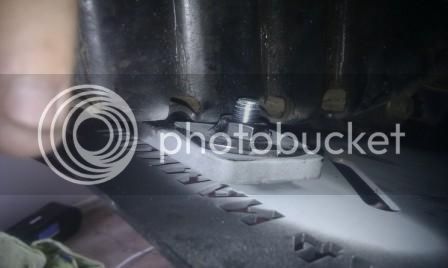

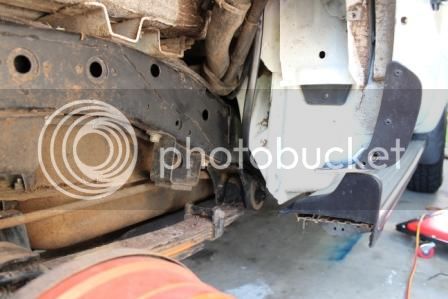
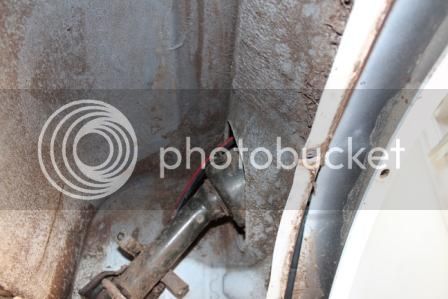

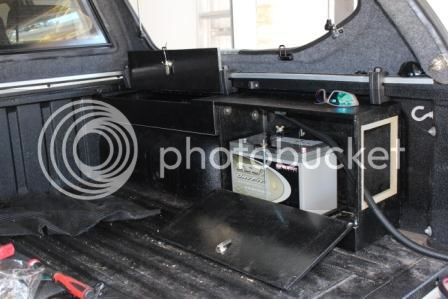
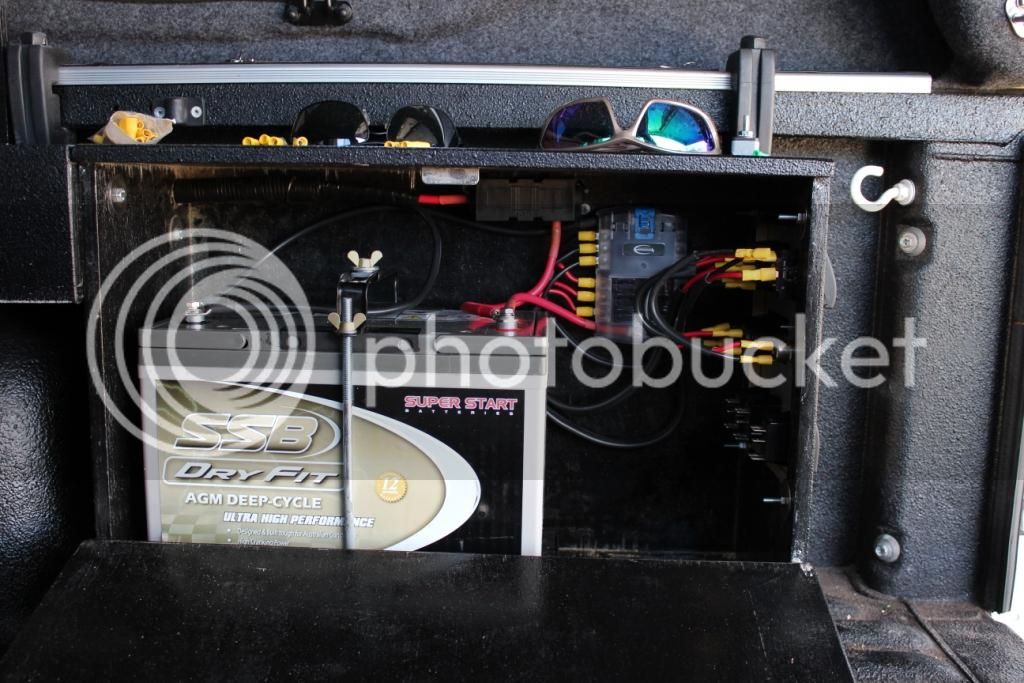
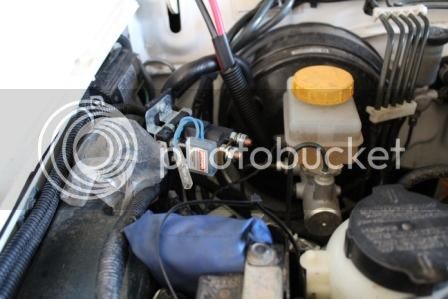
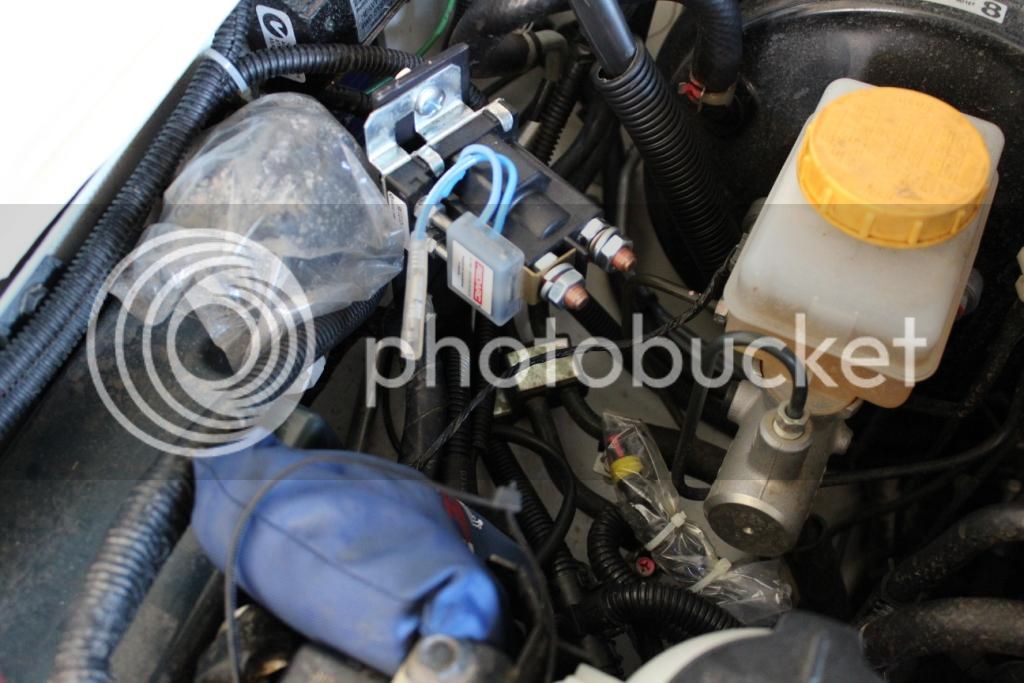
now before getting the box into position we ran the wire. i used 6B&S Twin Core with extra Sheath to add extra protection. we ran it from the front down beside the powersteering dropped it passed the steering arm and followed the brakelines and stuff to the chassis. then dropped it INTO the chassis and ran it out the back to a hole just below the last cab mount near the leaf spring mounting point(pictures will show)
then ran it passed the fuel filler into the body cavity
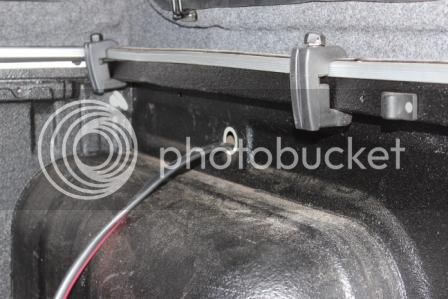
than fed it through the plastic grommet in the side of the tub
i drilled 22m hole in the plastic grommet. then put 16mm corrugated split tubing over the wire and it firt perfectly. plus added a lil but of SikaFlex 227 automotive grade and it sealedd it up mint.
Enter your email address to join: